The ultimate dream is having a luscious garden in your backyard to snip stems for all occasions, but in the meantime, we’ll brush up on our flower arranging skills until that dream becomes a reality. A store-bought bouquet is sweet, yes, but a homemade flower arrangement just feels so much more personal. And the act of making it is truly an act of love. So, this year, turn up your flower game a notch for any special Mom/lady/person in your life.
Below are the tips and tricks I’ve picked up on from my mother, who is a professional in the field (we do the flowers together for all the weddings in the family), and self-taught tips because, that’s what flower arranging is all about–figuring it out for yourself. Play around and get creative!
There are two ways you can do this:
$ – Go to Whole Foods or Trader Joes and buy a few bunches of various flowers and greenery.
$$($) – Go to the florist and pick loose stems directly out of the cooler (often better in terms of quality and options).
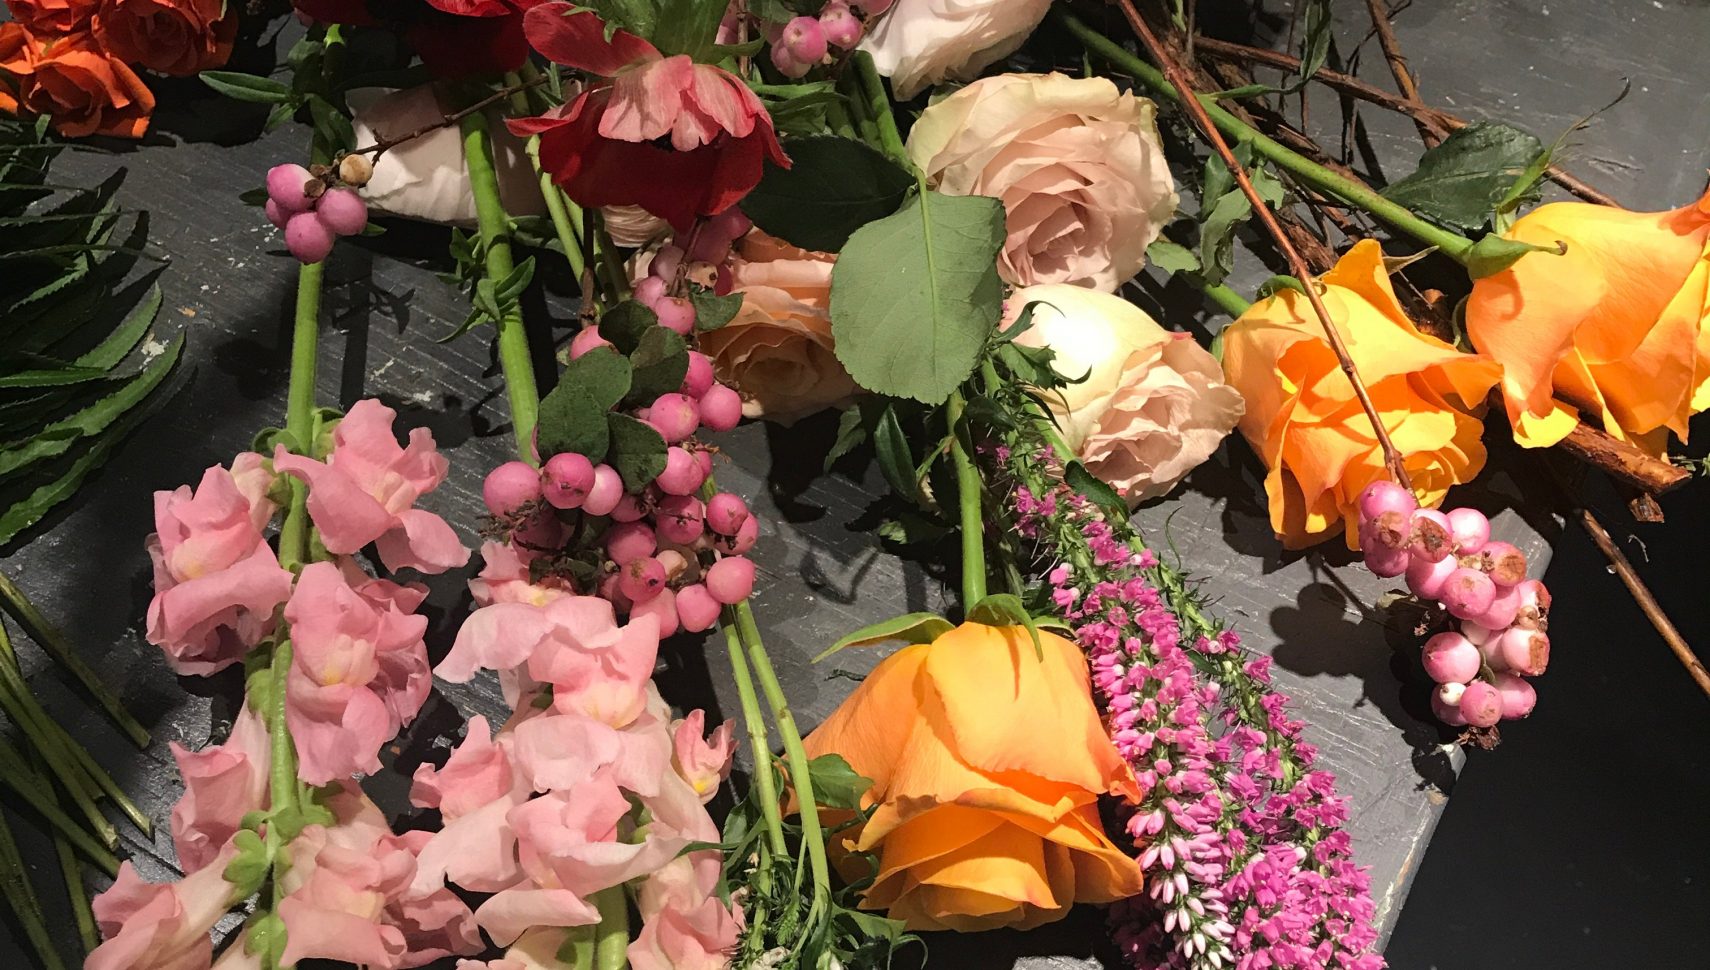
- You want to buy a mix of ‘filler’ which would be greenery or bushy fine flowers, smaller stems (ex: baby roses), larger blooms (ex: peonies) and a ‘statement stem’ (ex: a cherry blossom branch or a flower you’ve never seen before). Be sure you get flowers that vary in size–that will keep the arrangement interesting.
- Cutting the ends at a 45 degree angle and clean water! Even if your flowers look a little wilted (probably from a hot car ride home) they will likely perk up after you cut the ends a bit and put them in water.
- Trim the leaves. You never want a bunch of leaves stuffed into the vase. Cut any excess leaves off for the stem, below the water line.
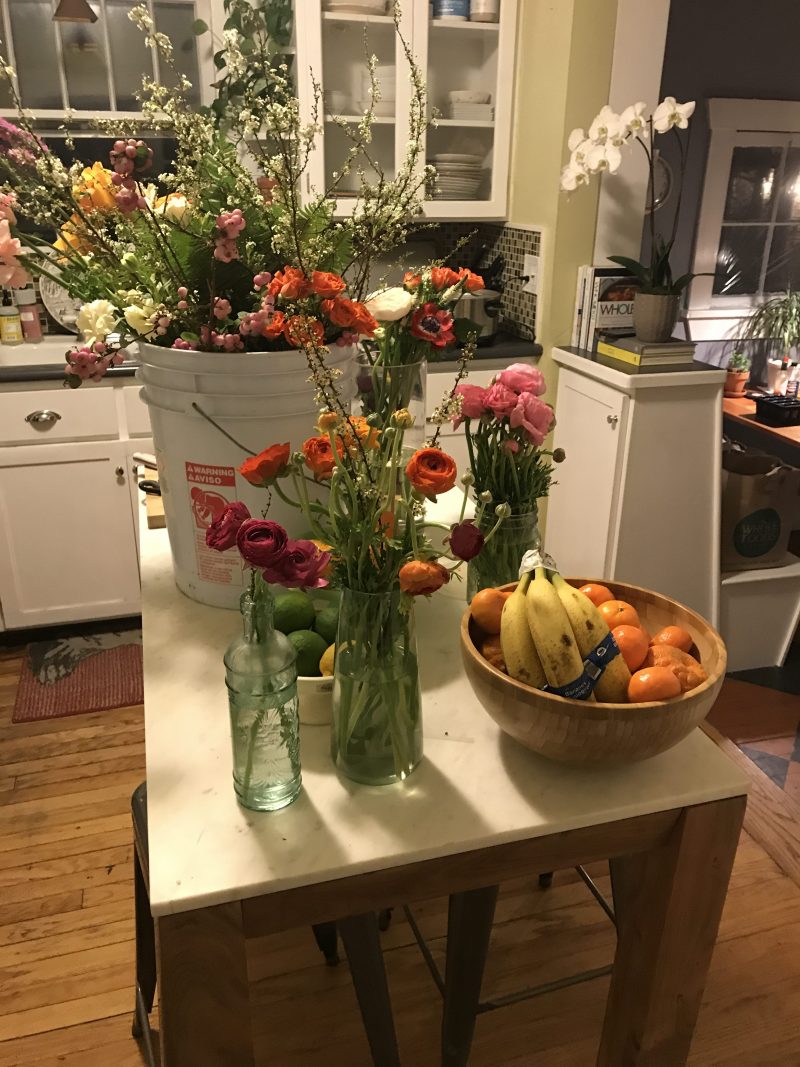
- To contain your bouquet, use any vessel (doesn’t have to explicitly be a vase!) or a bit of brown craftpaper, twine, or pretty ribbon.
Pro tip: I spray my arrangements with water to give them a longer life. And, if you really need them to last, put them in the fridge before you give them to mom.
- I begin with a vase without water and add that at the end as the final step. Start with the a base of the filler. Don’t fill the whole vase but this will be a bit of canvas for you to put the colorful flowers into.
- When it comes to putting the flowers in, I tend to trim them with a bit of length to spare because you never want to cut the flower too short. That can be really disappointing.
- Don’t take yourself so seriously. Have fun with it and chuck the idea of perfection out the door.
- If the flower arrangement needs more filler, go for it. Stiff, symmetrical and tailored bouquets are out. Organic and loose is the way to go.
- Odd numbers are just prettier, don’t ask me why. But keep that in mind. A single flower of one variety is so charming and elegant, so get comfy with that.
- Make sure that heights vary based on the type of flower. The bushy flowers look best taller while the tiny blooms should be the shorter one in the arrangement.
- Collect vases, always. I stop at Goodwill a couple times a month and will always snag a few at a flea market. It’s fun to have a variation of sizes and types.
- Buy a nice pair of garden sheers to make the whole experience a little less painful.
- You can get foam to hold your flowers in place. You shave it down to fit inside of your vase, soak it in water to absorb, wrap it with a large leaf to cover it up and then start sticking your flower stems into the foam. This will absolutely make you feel like a professional and can make a huge difference in the look and the life of your arrangement.

- Ranunculus: Come in so many colors, are affordable and last quite a while. I love that they vary in size too, which makes the arrangement more interesting.
- Babies Breath: You read that right. They are back in the best way possible. And, such a great filler!
- Anemone: Ughhhh. They are so perfect. They are my lil’ punk flower because they come in these pop-y colors and then have this dark, large black center. HIGHLY recommend even adding just one to an arrangement.
- Roses: Yellow roses are a true fairy tale come true for me these days. But, if you’re at the florist shopping for loose stems be sure to see what color roses they have because, mauve, lavender, baby blue… THEY EXIST! I’m not sure how, but they exist and they are beautiful.
- Anthirum: These are typically the “statement maker” of the arrangement for me. No need for more than one but these last forever and are guaranteed to make the recipient of the bouquet swoon.
- Veronica: These They do die fairly quickly and wilt a bit but sometimes a little height and drama is what you need to take the bouquet to the next leve