For most home makeovers, $300 doesn’t go far. Especially when it comes to kitchens, where the average budget is anywhere from $15,000 to $30,000. Talk about sticker shock.
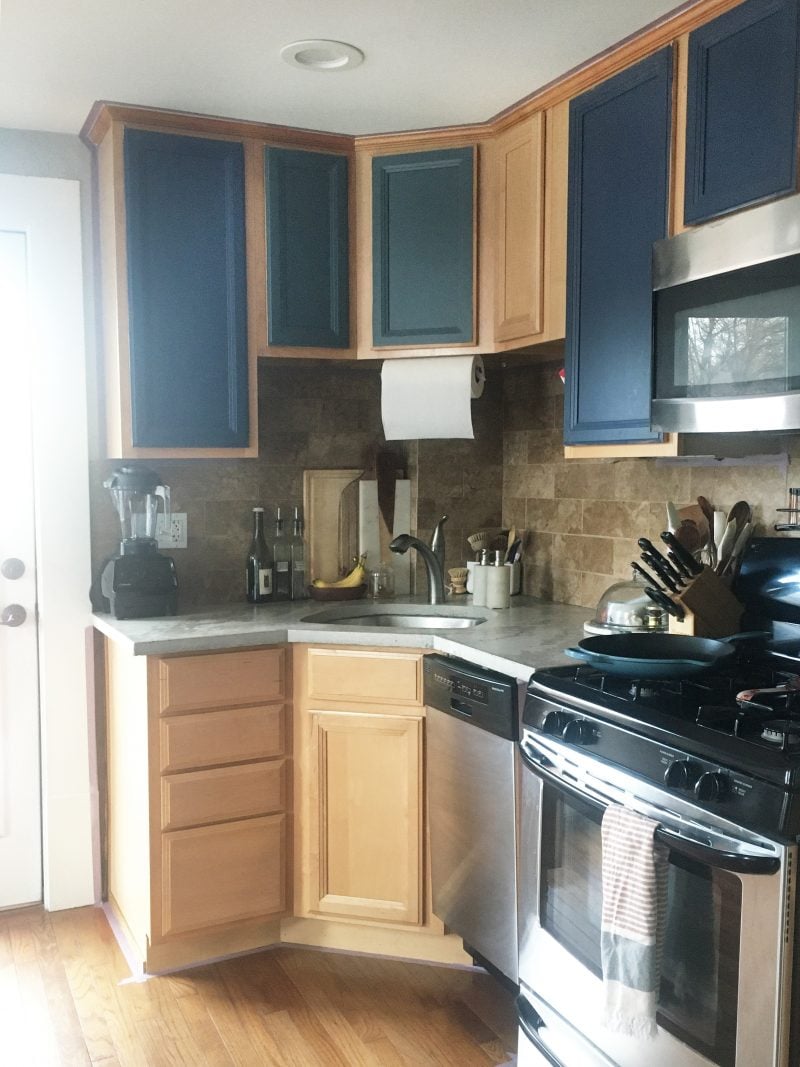
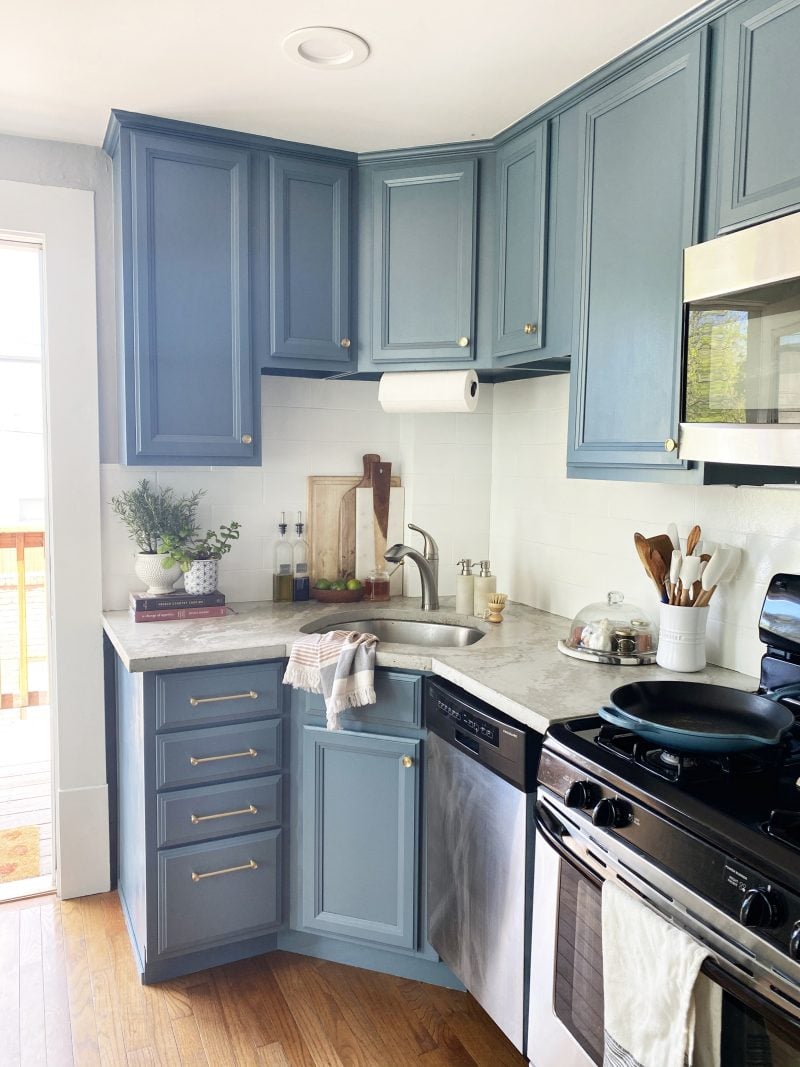
Consider this kitchen “remodel” by Havenly interior designer Heather Goerzen the exception. With just a few cans of paint, an epoxy kit, hardware, and some stylish little extras, she was able to transform her small cookspace in a matter of days.
What it saved in money, it more than made up for in sweat equity, though, so if you plan to DIY, get ready to put in some serious elbow grease! “This was definitely the down and dirty approach, just working with what we had,” says Heather. “But the good news is, we love the results!”
Ahead, we’re sharing the step-by-step guide to this dramatic makeover below, along with before-and-after photos so you can see how it all comes together. (Is it just us, or are we suddenly craving a trip to our local hardware store?)
Step 1: Paint the Cabinets
“The proper way to paint cabinets involves a lot more work than what we put in,” notes Heather. “You’d normally remove all the doors and drawers, prime and sand the wood, and use a fancy spray painter for even distribution. But honestly, who has time for all that? We were looking for an easy, no-hassle weekend project we could tackle ourselves.”
You had us at “easy” and “no-hassle.”
Instead of tediously removing all cabinets and hardware, Heather “just went for it,” painting directly on the cabinets after wiping everything clean. “We were very pleased with the outcome. It’s held up great and looks beautiful,” she shares. While she admits there have been small chips, they’re quick and easy to touch up. “The time to cost to impact ratio certainly feels worth it,” she says.
Before

Step 2: Paint the Backsplash
Painting the backsplash instead of replacing tile? It sounds too good to be true. But, with the right prep work, it’s possible (and it actually looks good).
“I didn’t know painting tile was a real thing before I started this project,” Heather admits. “We had a pretty dull and drab backsplash, so I figured we’d have to replace it altogether for any improvement. Lo and behold, after a Pinterest rabbit hole, I discovered this amazing Rust-Oleum Tub & Tile refinishing kit that cost a whopping $45. Thanks to this epoxy-acrylic combo and half a day’s time, we were able to transform the backdrop with a more modern, crisp white hue.”
Here’s what you’ll need to paint the tile:
- Fine sandpaper
- Stain remover
- House cleaner
- Rust-Oleum refinishing kit (note: you may need multiple kits depending on the size of your kitchen)
- Painter’s tape
- Paint tray
- Paint brush
- Small paint roller
And here’s how to do it:
- Clean your tile with a heavier stain removal product if needed. Then, using fine sand paper, sand the tile to remove any rough spots. Spray the tile down with regular household cleaner so everything is clean and dry.
- Tape off all cabinetry and countertops so the epoxy doesn’t bleed over. Mix and stir the refinishing kit, following all package instructions closely. Use a small paint brush to paint the grout first, following the grout lines with the narrow side of your brush. Then, use a small rolling brush to cover the tile. Be sure to roll in the same direction of the tile for seamless coverage!
- Toast your hard work (ideally with a great playlist and adult beverage of your choice).
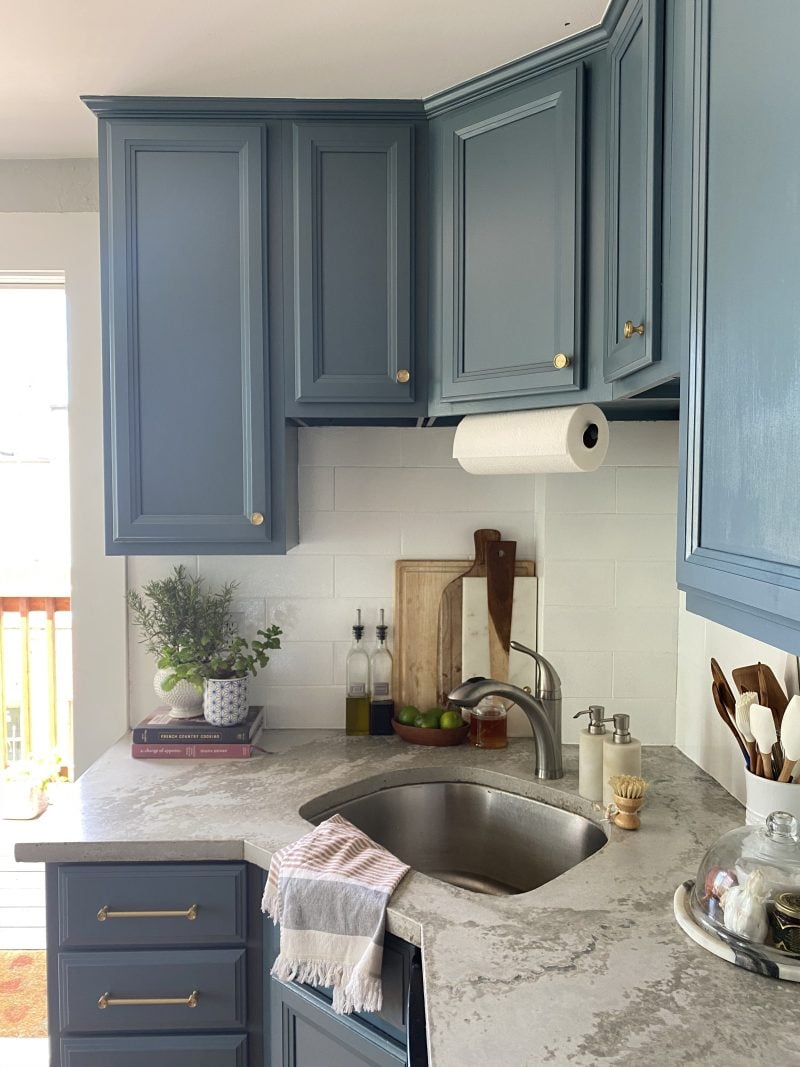
After

Step 3: Add Hardware
Hardware is like jewelry for kitchens — it’s the finishing touch that makes it feel polished and put together. On the flip side, though, it also runs the risk of feeling ho-hum if a more dated style is used.
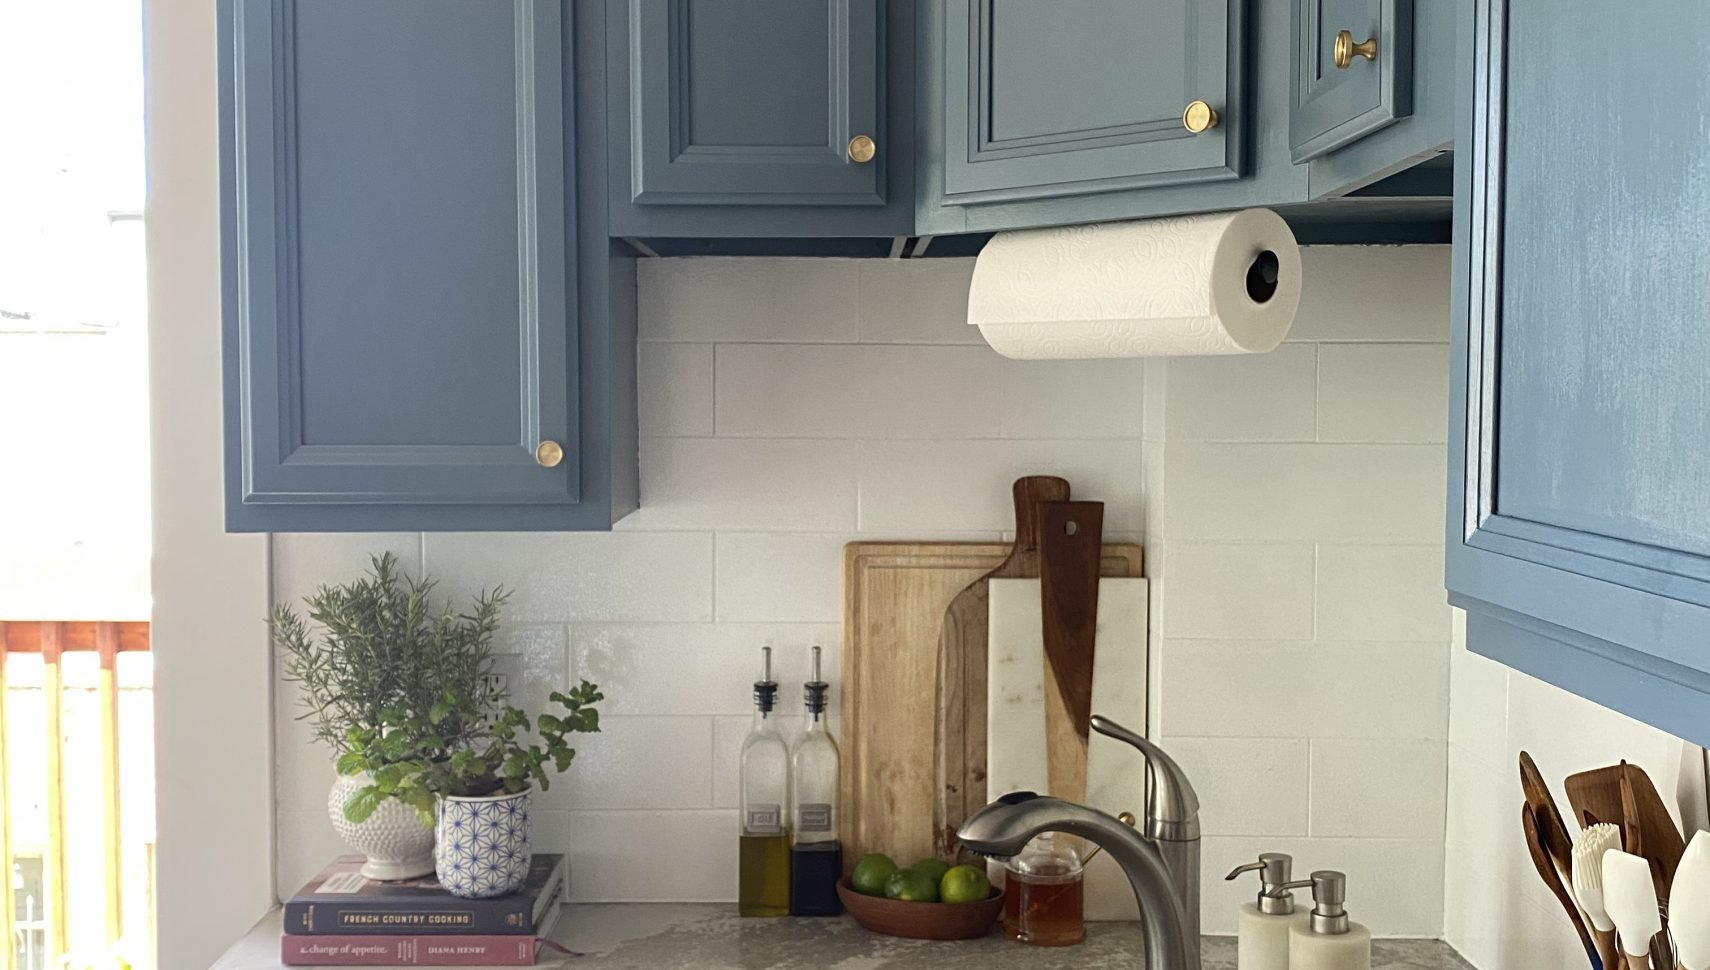
Luckily, it’s an easy and affordable way to level up your kitchen setting. If your hardware is leaving you wanting, scout for accent pulls and knobs in an on-trend aesthetic (aged brass with a little patina will always and forever be in style). “This simple step really put the finishing touch on the kitchen,” Heather says. “It made it feel more custom and elevated.”

Step 4: Style It Up
The hard work is done, and now it’s time for the fun part. Channel your inner interior designer by adding decor like rustic cutting boards, glass oil dispensers, stacked cookbooks, a chic utensil holder, potted herbs, pretty tea towels, and a bowl of fresh citrus (think lemons or limes). Pro tip: remember to vary the heights of pieces, and even consider stacking where appropriate, for a more layered look!
Inspired to make over your own kitchen? Havenly designers are standing by to up the ante. Take our style quiz and get started.

