Gallery walls, also known as salon walls, have a rich history dating back to the late 1600s, where the wealthy (and only the wealthy) hung lavish paintings from chair rail to ceiling. Today, art is a lot more affordable and meant for everyone — but that doesn’t mean gallery walls have gone out of style. We love using this design tactic to create a museum-worthy space inside your own home. It also happens to make for the perfect quarantine project.
Below, learn how to create three different types of gallery walls on your own. If you’re more of a visual learner, you can also watch the video below for added guidance.
It’s important to know what kind of wall and situation you’re working with. If you have plaster walls, it might be best to avoid the gallery wall look, or use Command Hooks and choose lighter-weight framed artwork — plaster can crack easily, and even a small crack can quickly expand. You’ll also want to consider your lease beforehand if you’re a renter. Gallery walls, particularly large ones, will leave a lot of holes. Make sure you plan to patch them up accordingly before you move out!
Last but certainly not least, you will always need to arrange your art on the floor first to determine the layout and spacing. Then, measure it against your available wall space to ensure the gallery will fit on the wall.
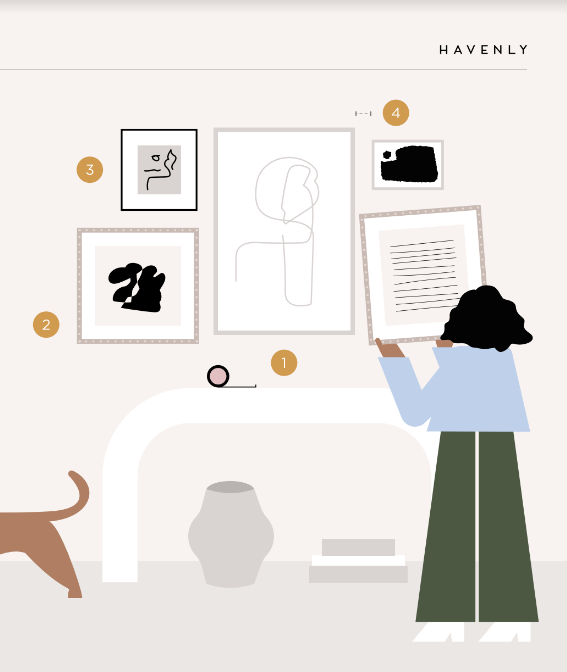
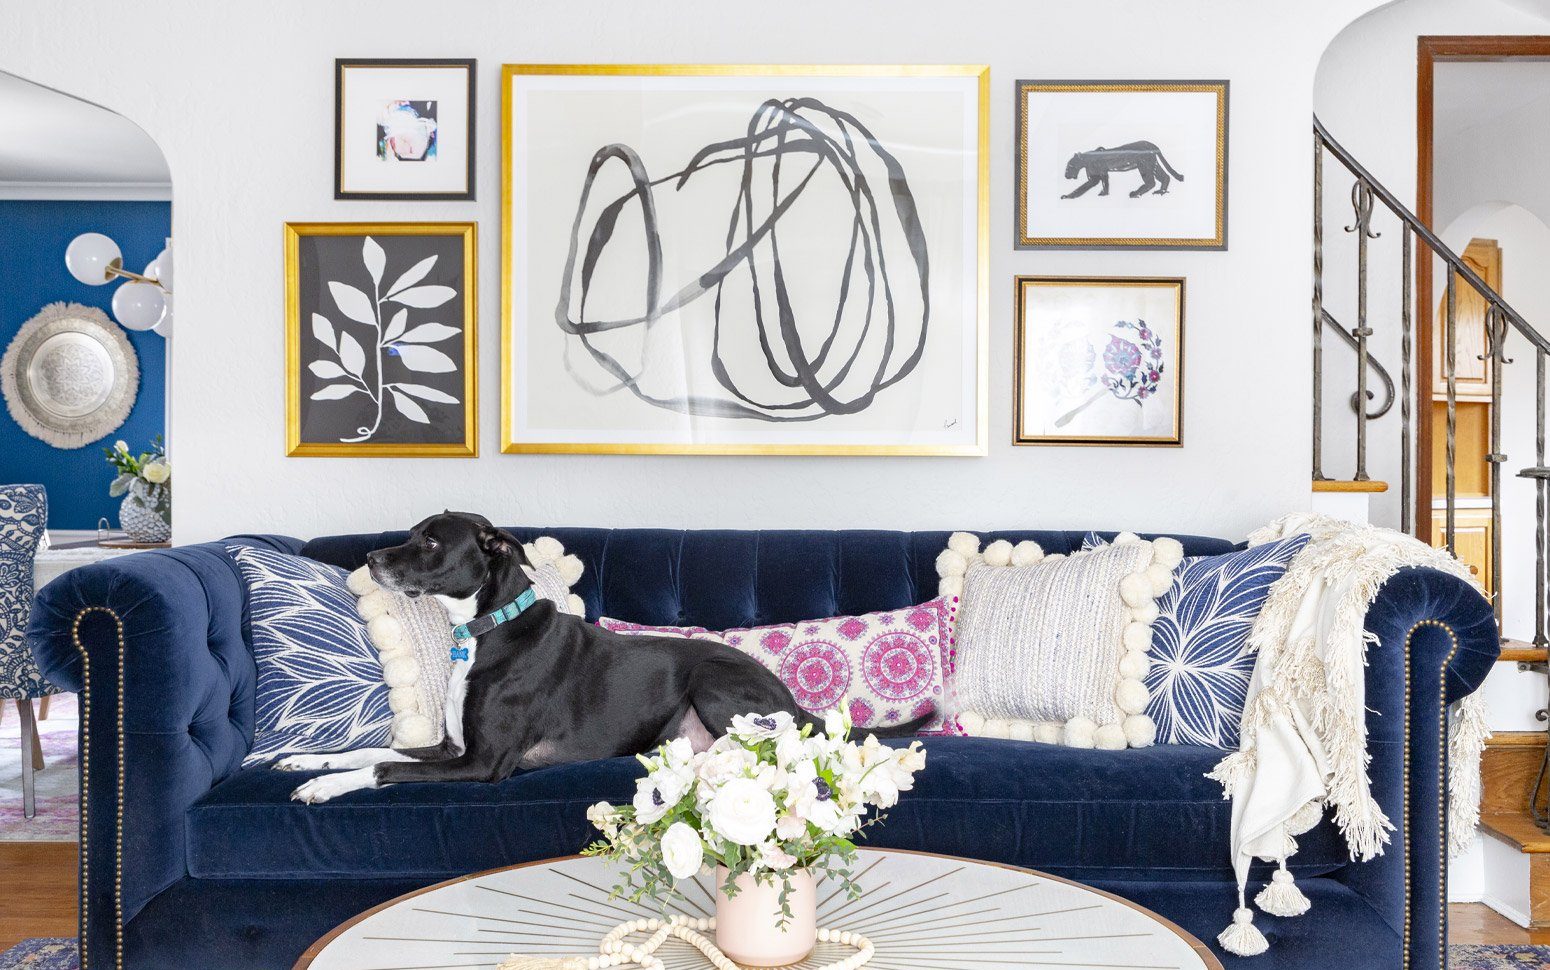
If you have an oversized piece of art that’s simply the star, the Central Focus gallery wall is for you. This style of gallery wall usually consists of one large piece of artwork flanked on either side by a few smaller pieces.
Steps to success:
- First, start with your largest piece in the center.
- Arrange medium-sized pieces on either side toward the lower edge of the largest piece.
- Place smaller pieces above the medium-sized pieces to finish the gallery.
- Keep about 2–3 inches between each frame, offsetting from the center piece.

This style is absolutely perfect for pieces with a similar medium and style, such as family photos. Its clean lines add an orderly look to spaces like a home office or living room.
Steps to success:
- Measure frames and hanging hardware carefully to mark where each frame will hang.
- Hang your frames in a grid with equal spacing between each frame. Our designers usually plan for about 2–3 inches of space per frame.

Sometimes, winging it just works. If you have a large art collection or simply can’t be bothered to measure out an organized grid gallery wall, try the asymmetrical look. Anything goes!
Steps to success:
- Place the largest piece lower on the wall. Don’t center it! Go slightly left or right of center.
- Build out from there. Mix up the size as you go—no need for larger pieces to stay toward the bottom as with other gallery wall styles.
- Just as you should vary mediums and artwork sizes, you should also vary the spacing between frames. Keep it between 2–6 inches for a collected, built-over-time look.

When designing gallery walls, our designers always consider these three important tips:
- If your gallery wall includes different art mediums—like photography and paintings, for example—use a cohesive color palette to help unite the pieces.
- Photographs look especially crisp when you frame them using an oversized mat. If you’re putting together an organized grid gallery wall, use the same size and color mat for all images.
- Prefer the asymmetrical look? This style is hard to mess up, so just go for it! The result will look like you’ve been collecting art for years.

