Before & After: What I Wish I Knew *Before* DIY Renovating My Kitchen

Nothing teaches you a design lesson (or two) quite like a DIY renovation. That’s doubly true when it comes to renovating a hard-working, highly-functional space like a kitchen. And Shelby Girard’s kitchen remodel before and after was no exception.
“Our kitchen remodel was a learning experience,” says Shelby, Havenly’s VP of Creative and Design. “My husband and I tackled it together in our Connecticut home, and while we love renovating spaces and how the kitchen ultimately turned out, there were a few lessons learned along the way.”
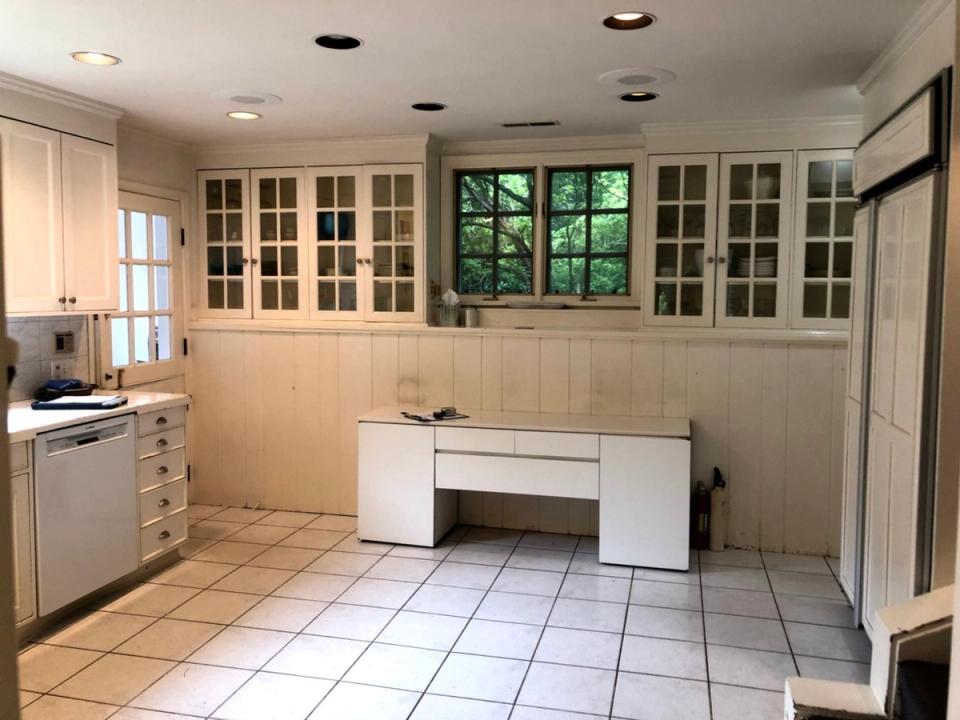
The two gut-renovated the space from top-to-bottom, ripping out old cabinetry and flooring, backsplash tile, appliances, canned lighting, walls, and more before completely rebuilding the space. “It was definitely a process, and took months to complete, but I loved being able to design exactly what I wanted,” she adds.
Ahead, Girard gets candid about what she wish she knew before DIY renovating her kitchen.
1. Practice makes perfect
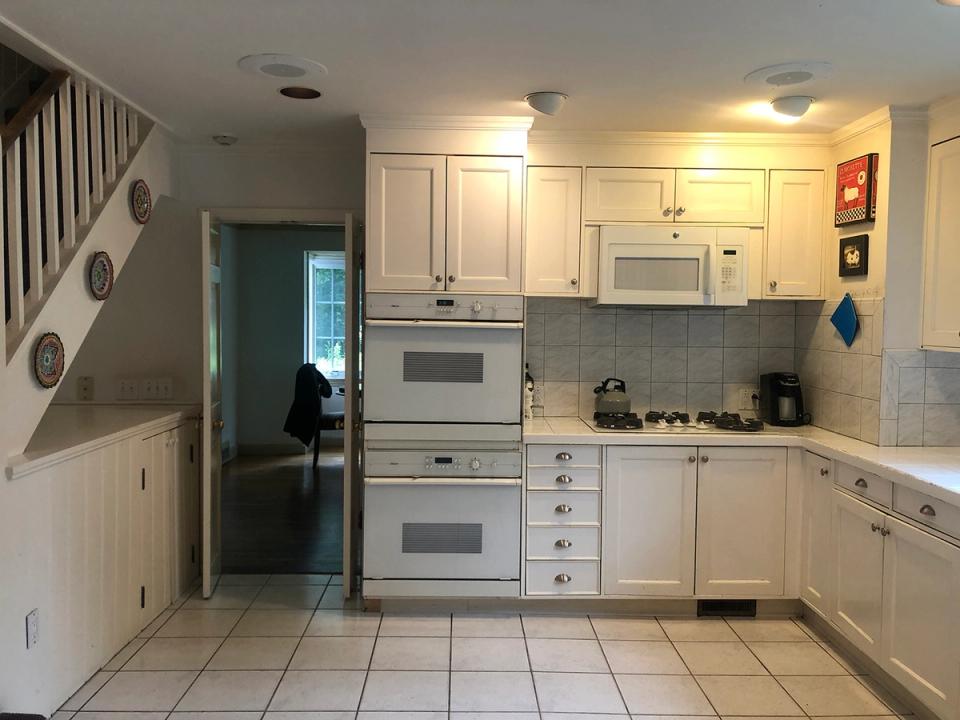
Before
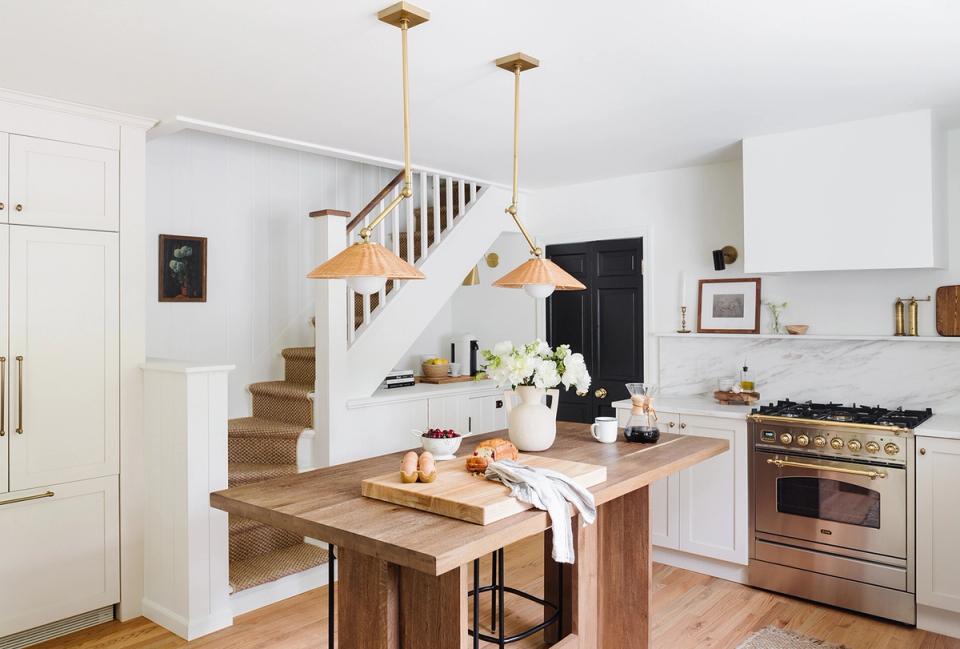
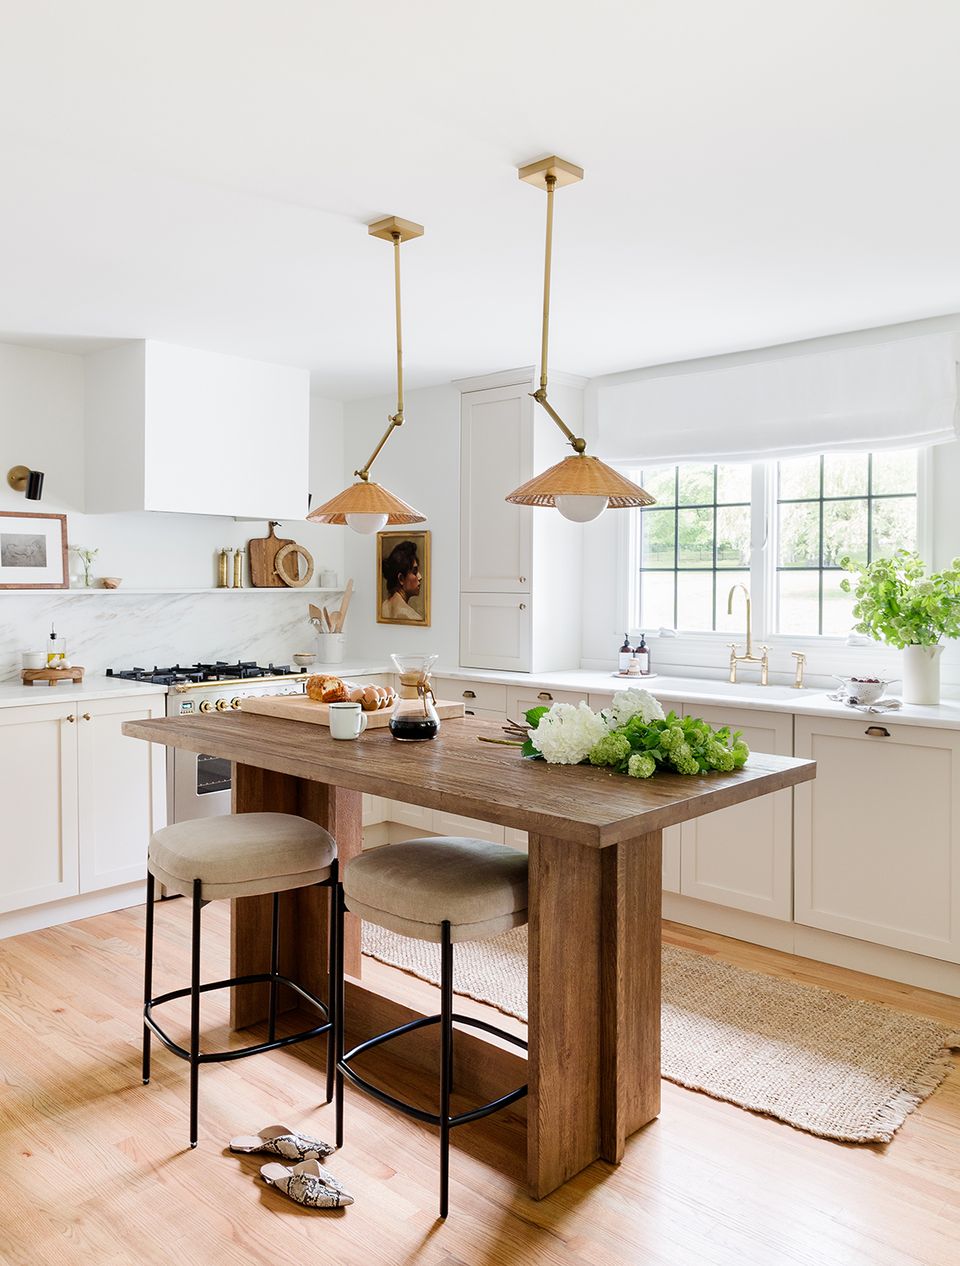
After
Shelby and Chris decided to paint their kitchen cabinets themselves using a paint sprayer to save some money on the reno. While the finished product looks flawless, she does have a few qualms. “It was our first time painting cabinetry ourselves and the paint sprayer was hard to get the hang of,” she shares. “I’m glad we went the DIY route, but I wish we had the patience (and time) to perfect our technique before diving in to the project.”
2. Factor in lead times
Kitchen renovations can take months to complete, especially when ordering brand-new appliances and cabinetry. “Ordering the essential components ahead of time would have shortened the overall timeline considerably and made the project go more smoothly,” says Shelby. “We had three solid months of zero cooking and ordering takeout for every meal, and had we taken lead times into consideration, that could have been shortened.”
3. Weigh the pros and cons of marble
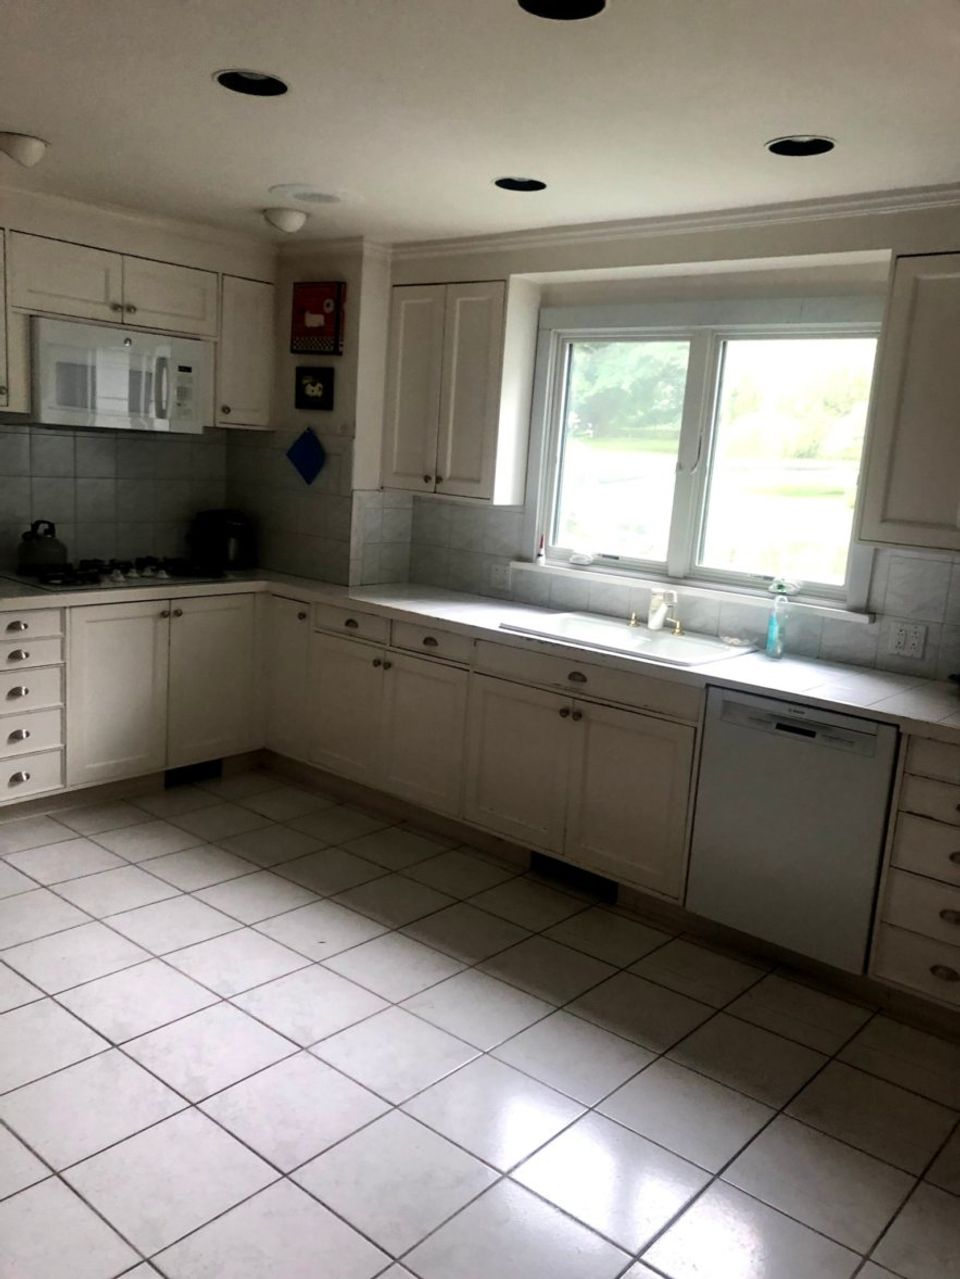
Before
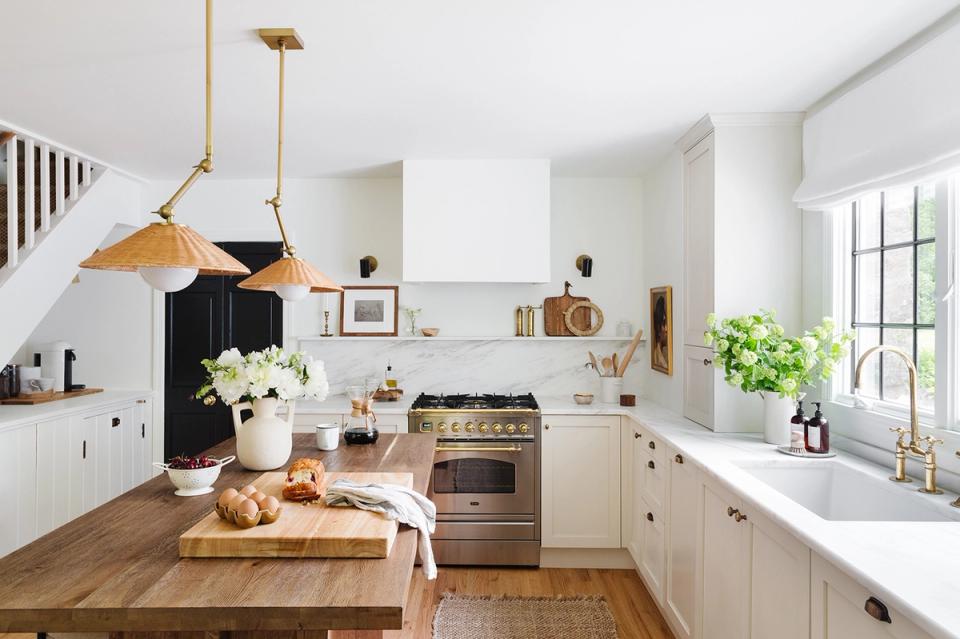
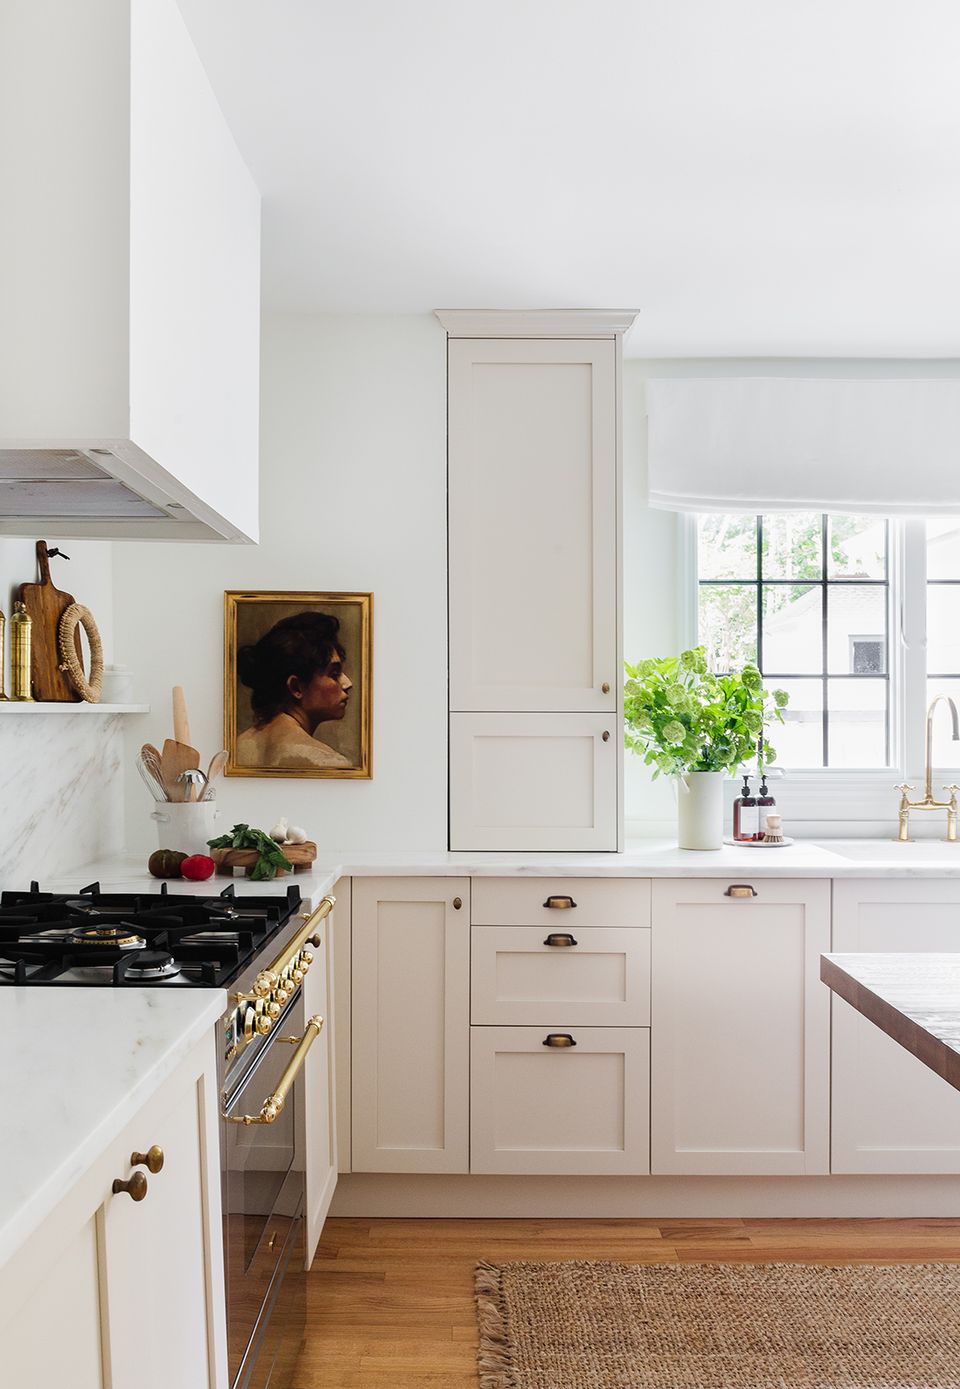
After
When it came to selecting countertops, Shelby went with stunning white marble for the back cabinetry and backsplash. While she loves the overall look, the durability factor does sting a little. “I embrace the etchings and marks, but the first few are a little hard to get used to,” she confesses. “It’s almost like ‘more is more’ — the more patina, the better it looks over time. But you definitely have to be comfortable with signs of use and aging to fully embrace marble.”
4. Research your range hood
Shelby and Chris went with a minimalist hood above their range for a cool, custom look, but it was a bit more complicated than what meets the eye. “I wish I understood the pros and cons of different range hoods before making a decision,” she shares. “We didn’t have exterior venting for the stove, so we opted for a recirculating, ductless hood for ease. But, I wish we would have explored more options and possibly vented outside and invested in a more interesting design for the hood. We just went with a simple boxy style for ease, and I think it could be prettier!”
5. Always test your paint swatches
Before
After

Shelby’s kitchen is a mix of crisp white on the walls (Sherwin Williams Alabaster) and muted mushroom on the cabinetry (Clare Paint’s No Filter). The latter color took a bit longer to select — she tested five-plus different paint colors before landing on the winner. “I love how it turned out, but could also picture the cabinets in a darker color, too,” she shares. “Either way, it’s so important to test your paint swatches in different lighting and take your time to make a decision — don’t rush it!”
Want expert advice on your own space, straight from an interior designer? Get started today with ourstyle quiz.
