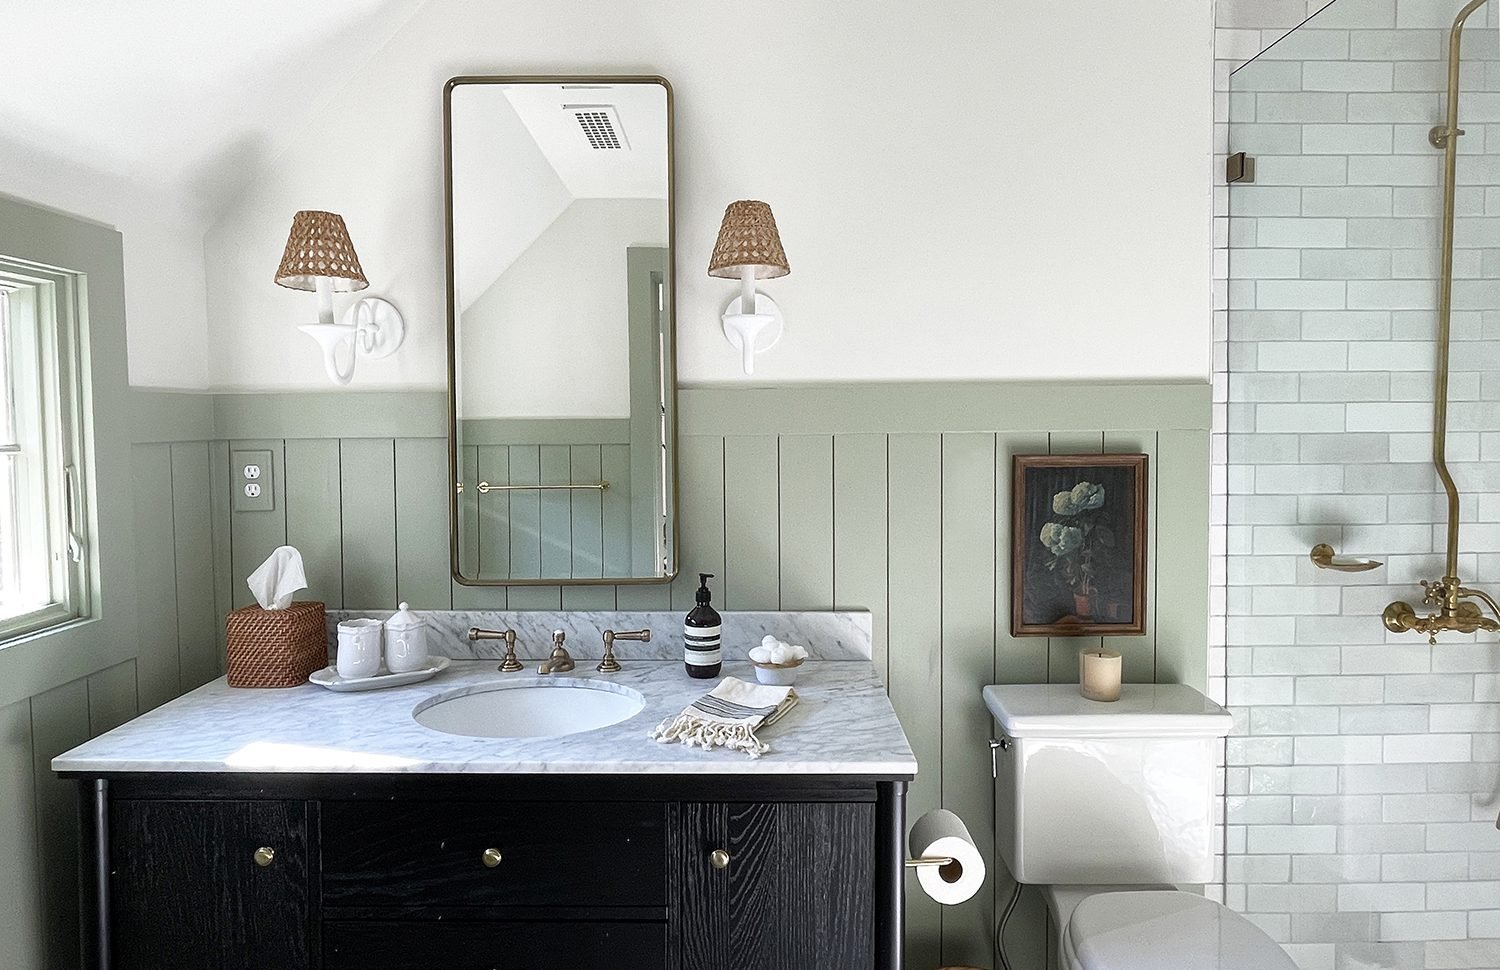
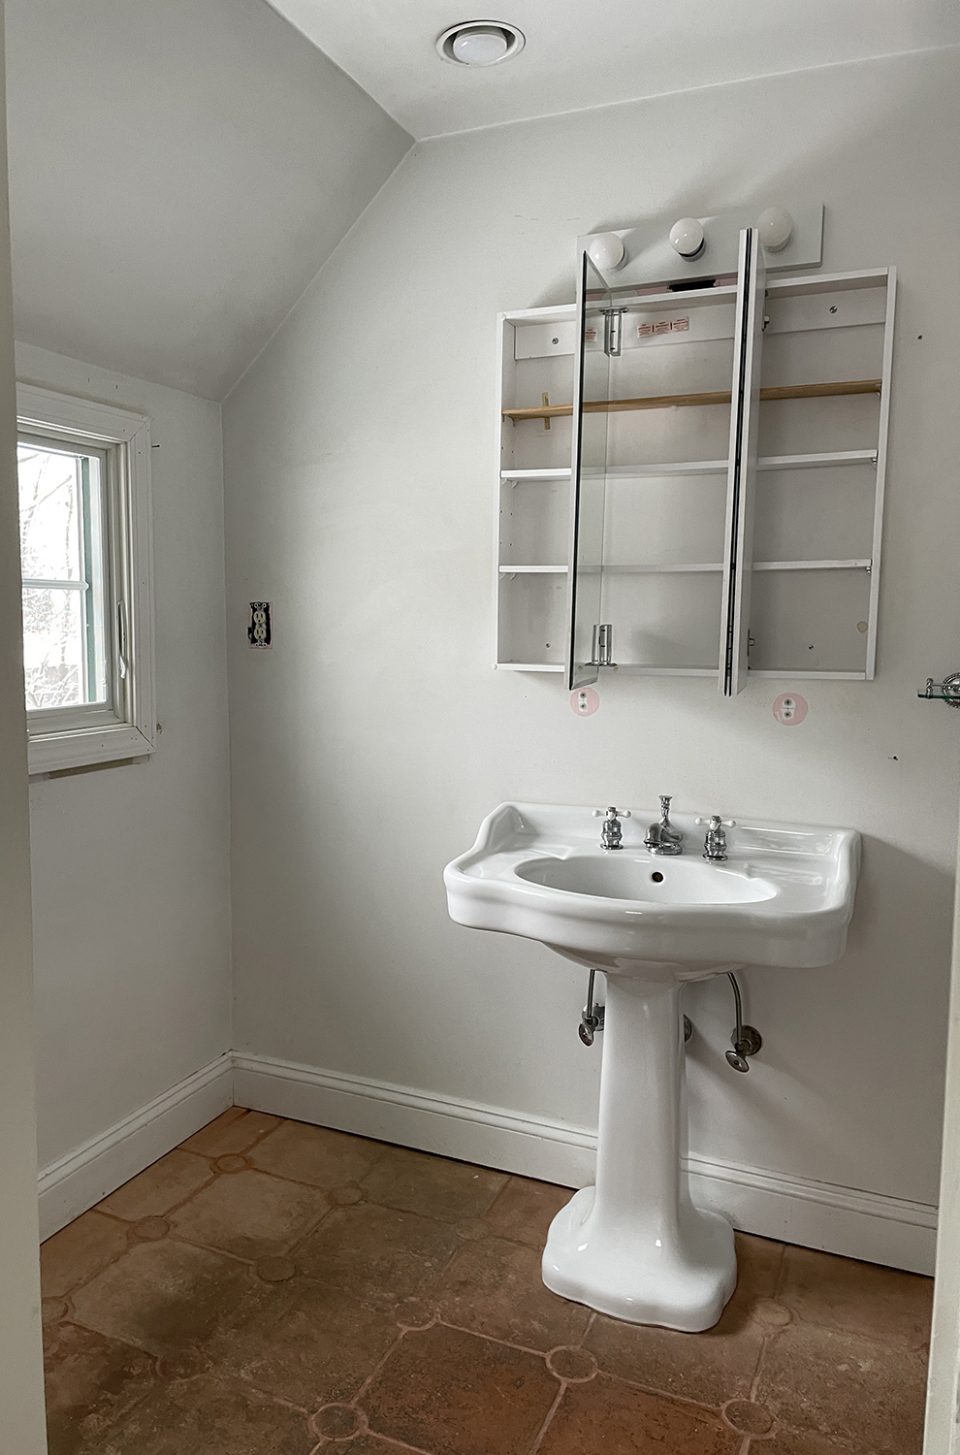
Shelby Girard and her husband Chris have been slowly renovating their 1911 Connecticut home themselves over the last two years. With the kitchen, guest bathroom, sunroom, and living space checked off their list, the DIY pros turned their attention to a particularly dated eyesore: their primary bathroom.
“This bathroom functioned, and that’s about it,” says the Havenly VP of Creative and Design. “It had pretty much no design love whatsoever, felt incredibly dated, and desperately needed a distinct point of view.”
Fortunately, the duo had more than enough design know-how to tackle the renovation themselves (in just a few weekends, no less). “I wanted something that felt both sophisticated and current, while also complementing the home’s warmth and history,” says Shelby of the design direction. “I love the way it turned out!”
Ahead, see how the design duo revamped their 111-year-old primary bathroom with zero professional help.
Start With a Concept Board
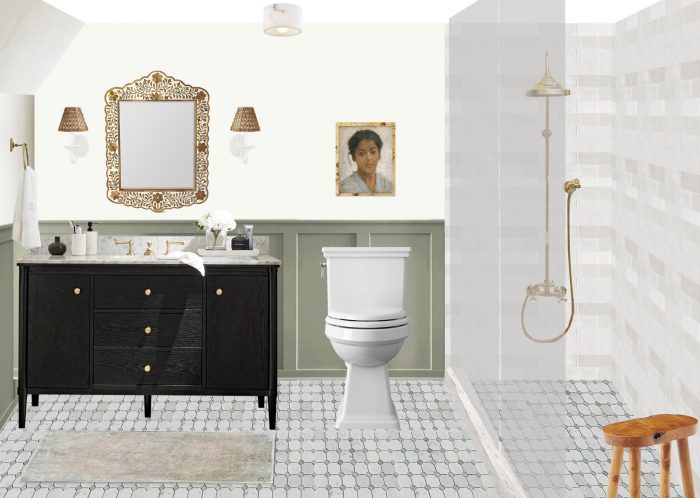
When working on a gut renovation like this, Shelby always recommends starting with a basic concept board. “Before we did anything, I created this little mock-up to guide the sourcing process,” she explains. “Visualizing your layout, color palette, and product selections in advance like this makes the entire project run more smoothly.” And good news: we have some Havenly pros standing by to help with this very step!
Prime the Canvas
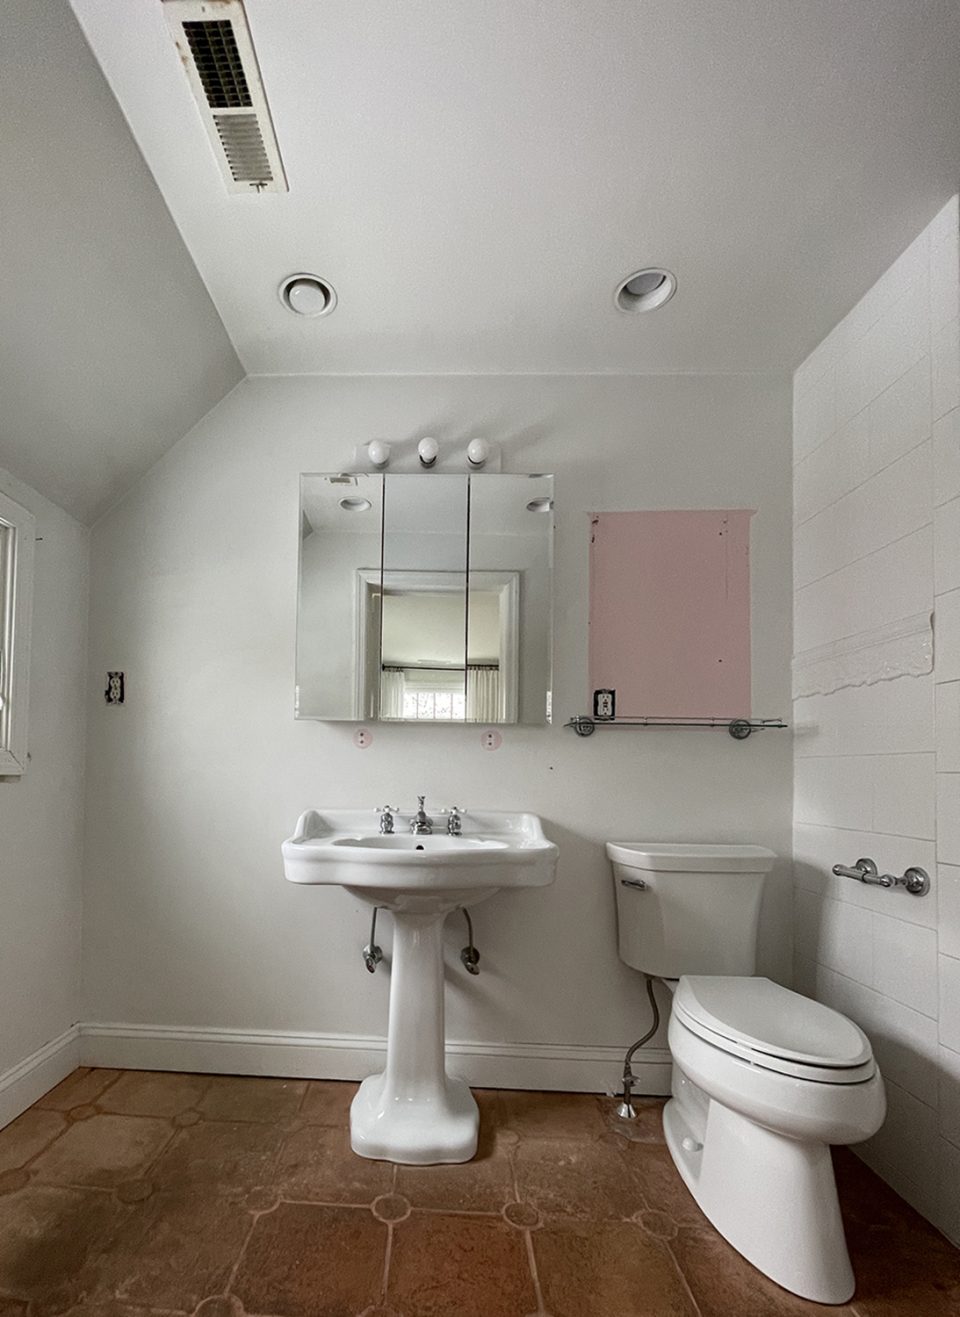
Next, the two went to work on demo’ing the bathroom and priming the canvas, so to speak. They ripped out the bathtub and wall partition, installed a timeless white and gray floor and shower tile, removed the canned lighting and added electrical for new fixtures, and removed the old vanity. “We decided to convert the dated tub to a standing shower with a glass partition to make the space feel more open,” she notes.
Add Wainscoting & Paint
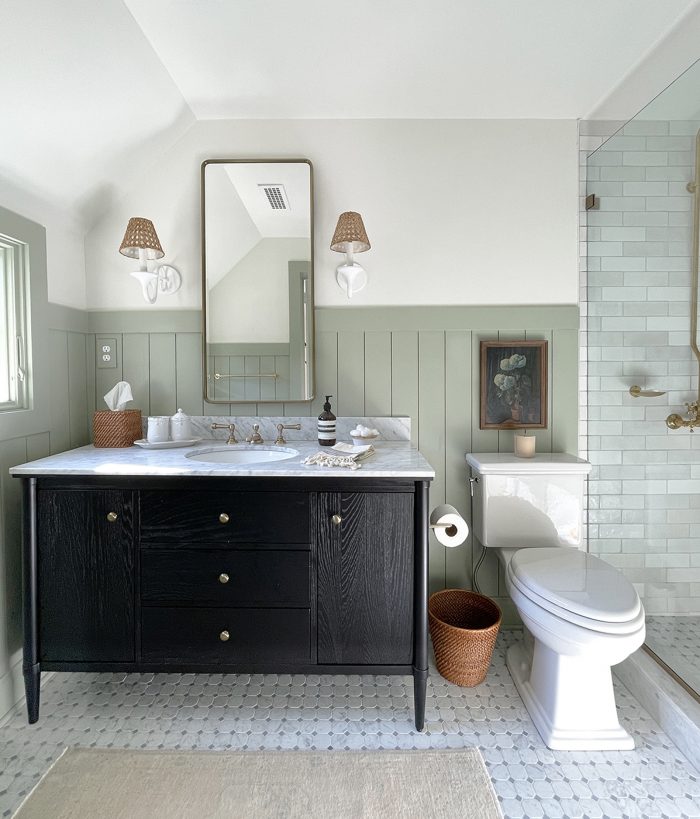
Next, the Girards installed wainscoting for architectural interest, and gave the space a fresh coat of paint — white on top, sage green on the woodwork, trim, door, and window grids (Benjamin Moore Saybrook Sage to be precise). “The rest of the house is white, so sage was a bold choice for me,” laughs Shelby. “But, it still functions as a neutral and helps break up the white tile and upper walls.”
Layer In Contrast
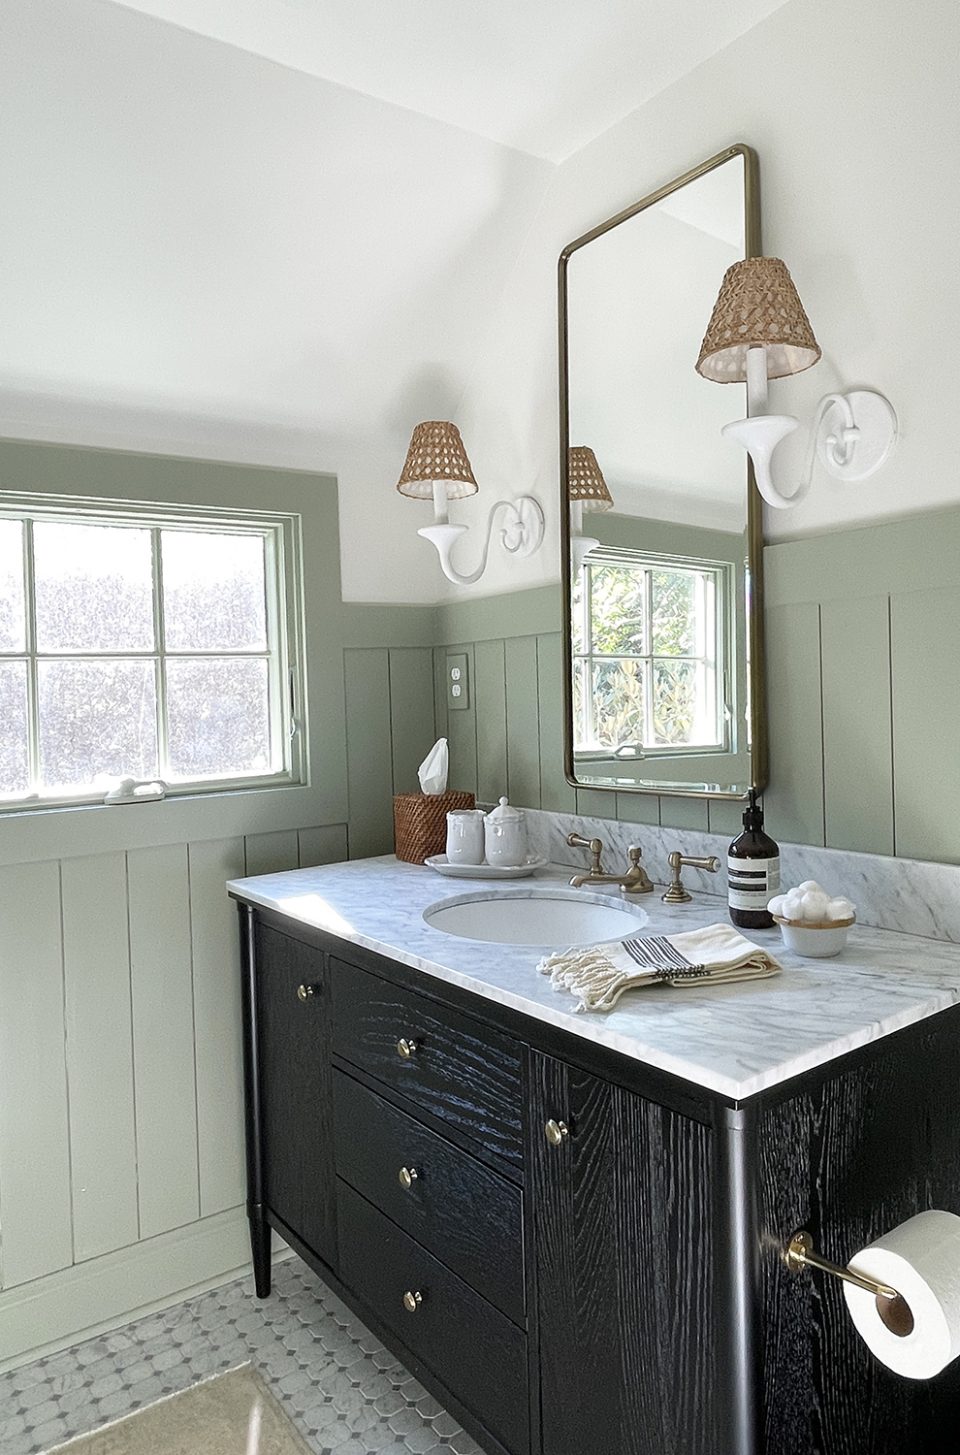
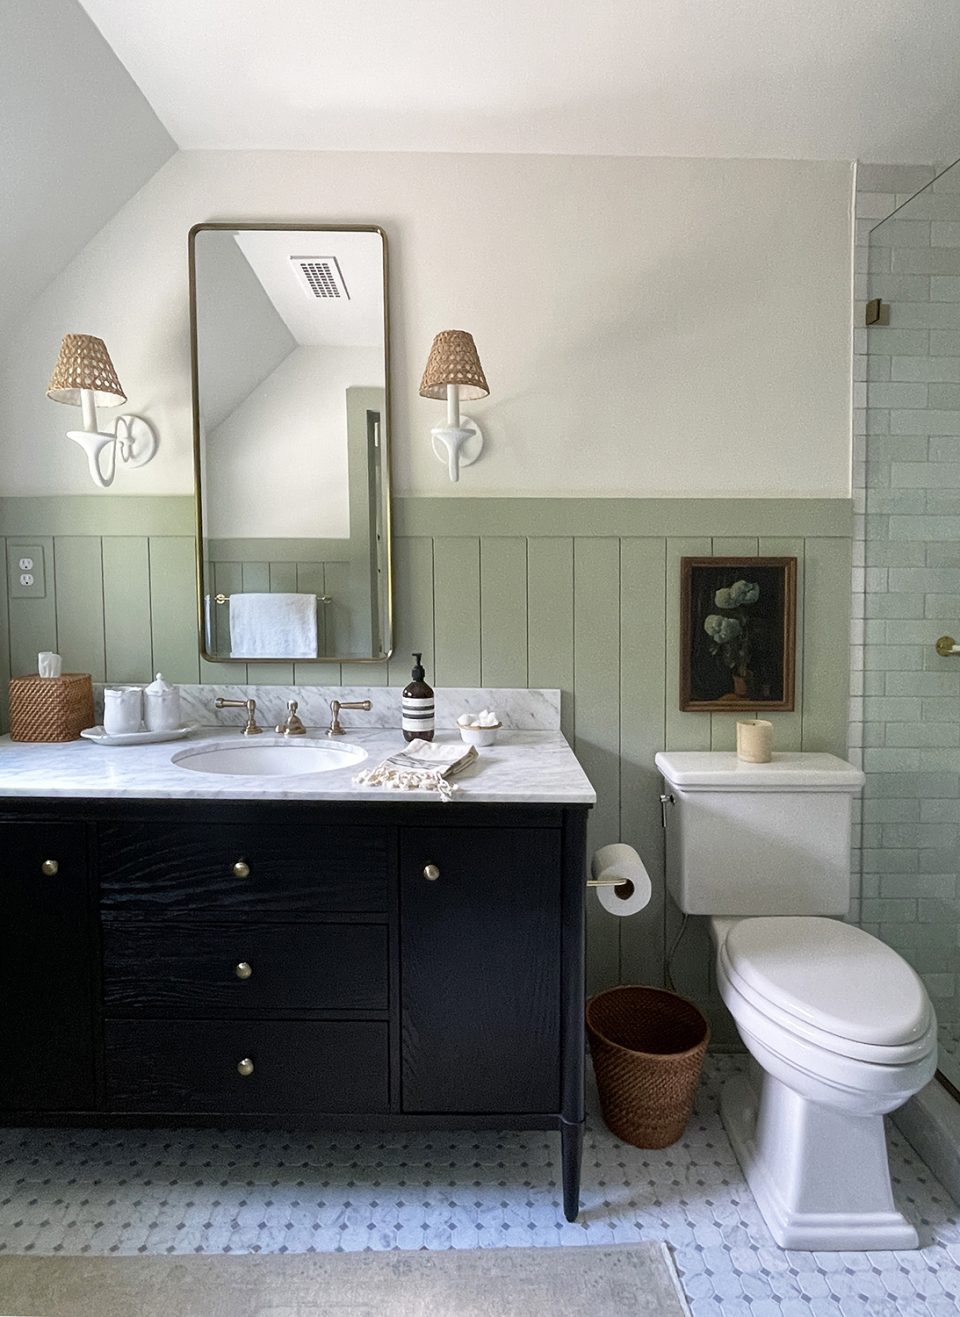
With construction complete, Shelby and Chris installed the light fixtures (shaded wall sconces and a marble flush mount) and the new vanity — a black oak beauty with a carrara marble top. “I’m so happy with the new black vanity — it adds the perfect touch of bold contrast to the bright space,” she adds. They finished the look with unlacquered brass plumbing and hardware.
Finish With Lighting & Accessories
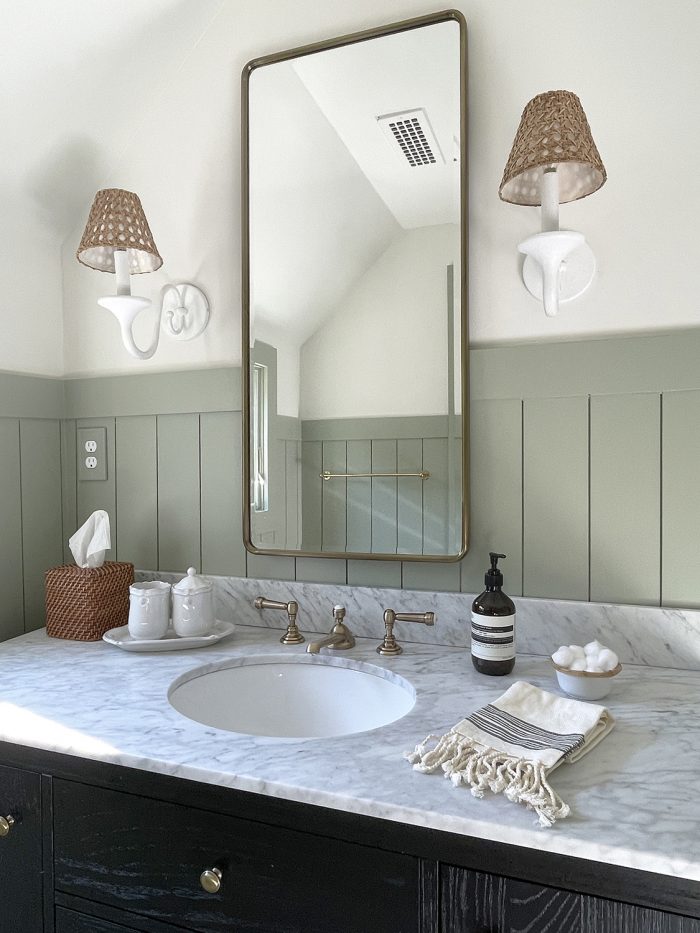
And now, for the fun part: Shelby went to work decorating the space, adding a mix of new and vintage pieces for a layered, inviting look. “Because we stuck to timeless tile and finishes, I wanted to have a bit more fun with the lighting and decor,” she explains, noting the woven accents, modern brass mirror, and vintage artwork. “The finished space feels fresh and new, but like it’s been here forever at the same time.”
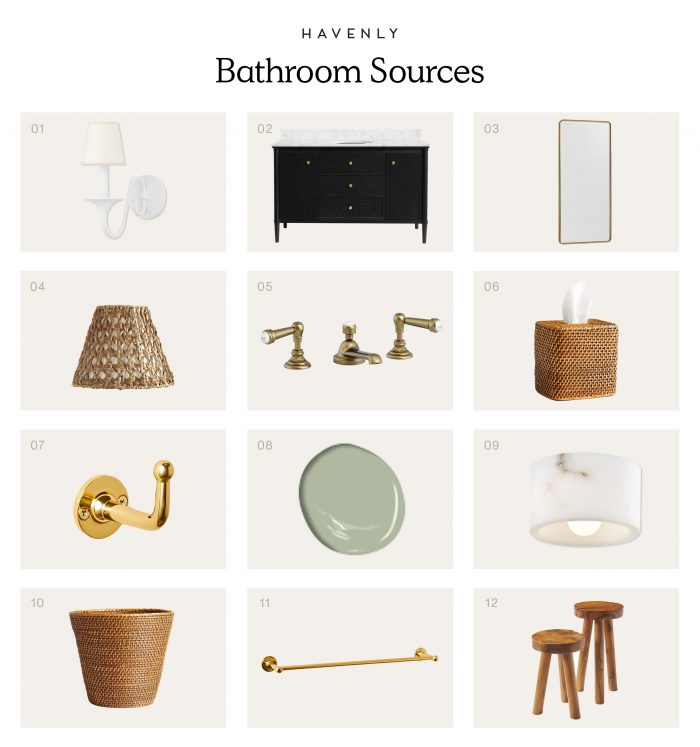
1.Windsor Sconce // 2. Onyx Harlow Single Wide Sink Vanity // 3. Tumbled Brass Vintage Fixed Slim Mirror// 4. Rattan Chandelier Shade // 5. Sussex Lever Handle Widespread Bathroom Sink Faucet // 6. Sedona Honey Square Tissue Box Cover // 7. Boule-Inspired Polished Brass Wall Mount Hook // 8. Saybrook Sage by Benjamin Moore // 9. Loris Flush Mount Alabaster // 10. Sedona Tapered Wastebasket // 11. Boule-Inspired Polished Brass Towel Bar 18″ // 12. Teak Stool
Want a beautiful bathroom of your own? Work one-on-one with our expert interior designers for just $129 per room. Get started today with our style quiz.

