Whether you deck the halls come November or staunchly swear off holiday cheer until after Thanksgiving, trimming the tree is one of the most treasured holiday traditions. But designing a beautiful tree that’s worthy of Macy’s HQ can get pricey, especially if you’re shopping at high-end brands ($25 for a single ornament?!).
But, we’re of the opinion that you can decorate the tree with just about anything — including goods from the party store, candy shop, hardware store, produce aisle, and dollar store. To put this theory to the test, we sent five of our designers to the above outlets, and asked them to design elevated Christmas trees with their findings.
From an impressive nut-and-bolt ornament DIY to literal potato garland, it’s safe to say their creations did not disappoint. Without further ado, we invite you to crank the Mariah, put on your festive PJs, pour something spiced, and read on for some inexpensive, creative, and completely unexpected Christmas tree decor ideas.
Dollar Store Tree Decor with Designer Kelsey Fischer
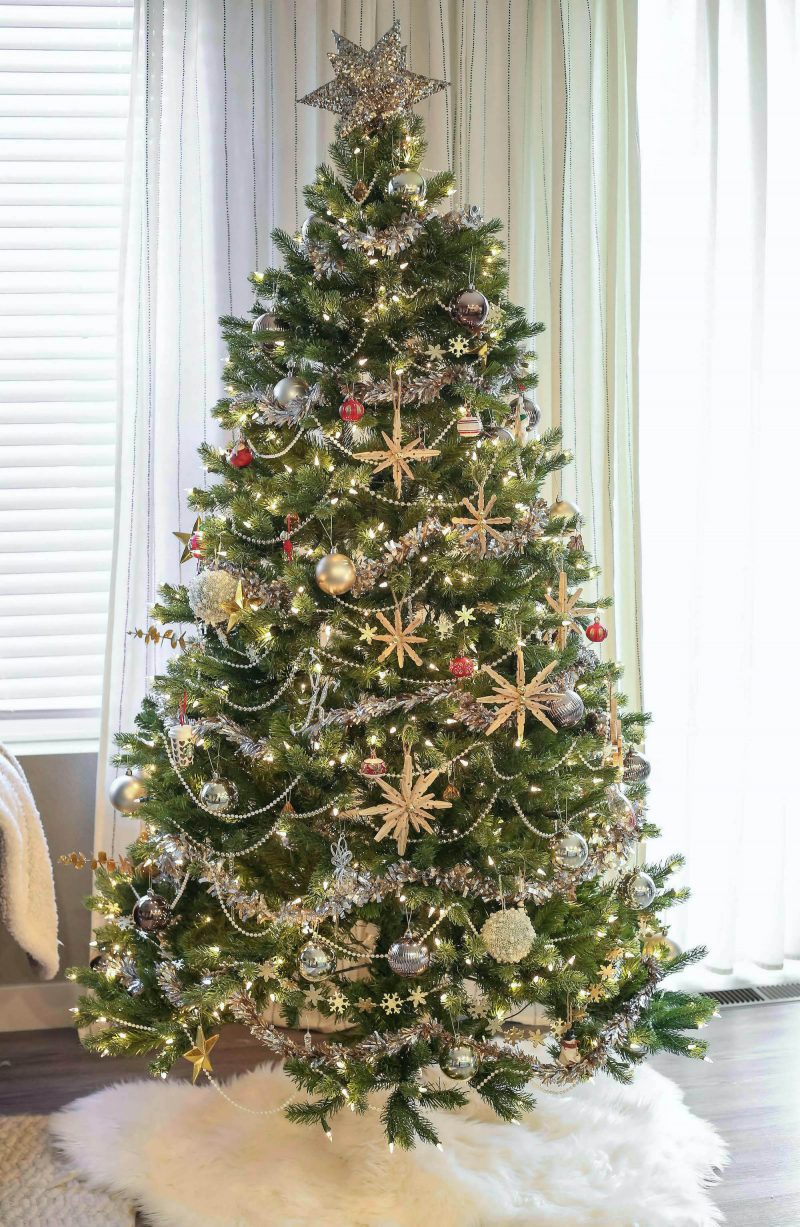

First impressions: I found the Dollar Store so much more inspiring than expected. From the craft section and party supplies to the cleaning aisle, there were so many knick-knacks to capture my imagination and kickstart countless DIY ideas.
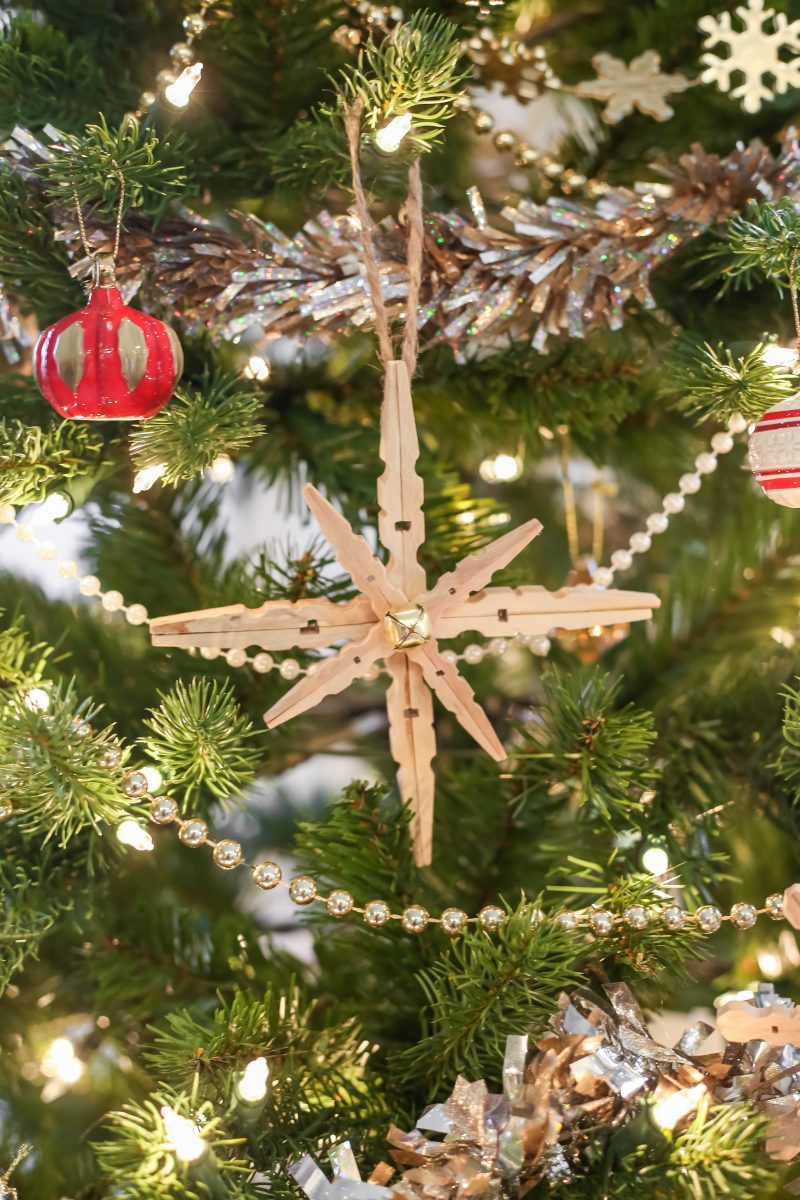
Behind the design: I wanted to design a tree that felt natural and not too glitzy, and the wooden clothespins fit the bill. Not only do they add texture to any look, they blend well with rustic farmhouse style, Scandinavian minimalism, or even modern cottage. I decided to make two different sized ornaments out of the clothespins, and embraced Dollar Store decor for the rest. They had an impressive selection — I went with brown, silver, and gold ornaments, a few red accents, and three different kinds of garland.
Ornament DIY: If you’re looking for a creative ornament or Christmas gift idea, look no further than clothes pins. With a little know-how and crafting, they can be transformed into Nordic-inspired snowflake. First, take apart the clothes pin so you just have the long wooden legs. Then, hot glue the legs so they sit flush with each other (as seen in the photos above). Next up, glue together the joint clothes pins in a snowflake configuration with eight diagonals. For a more rustic look, simply glue a gold bell at the center, like I did here to align with my organic aesthetic. With that said, you can easily personalize these — go crazy with paint, glitter, beads, sequins, and the like! They make for such a fun holiday craft for the whole family.
Party Store Tree Decor with Designer Heather Goerzen
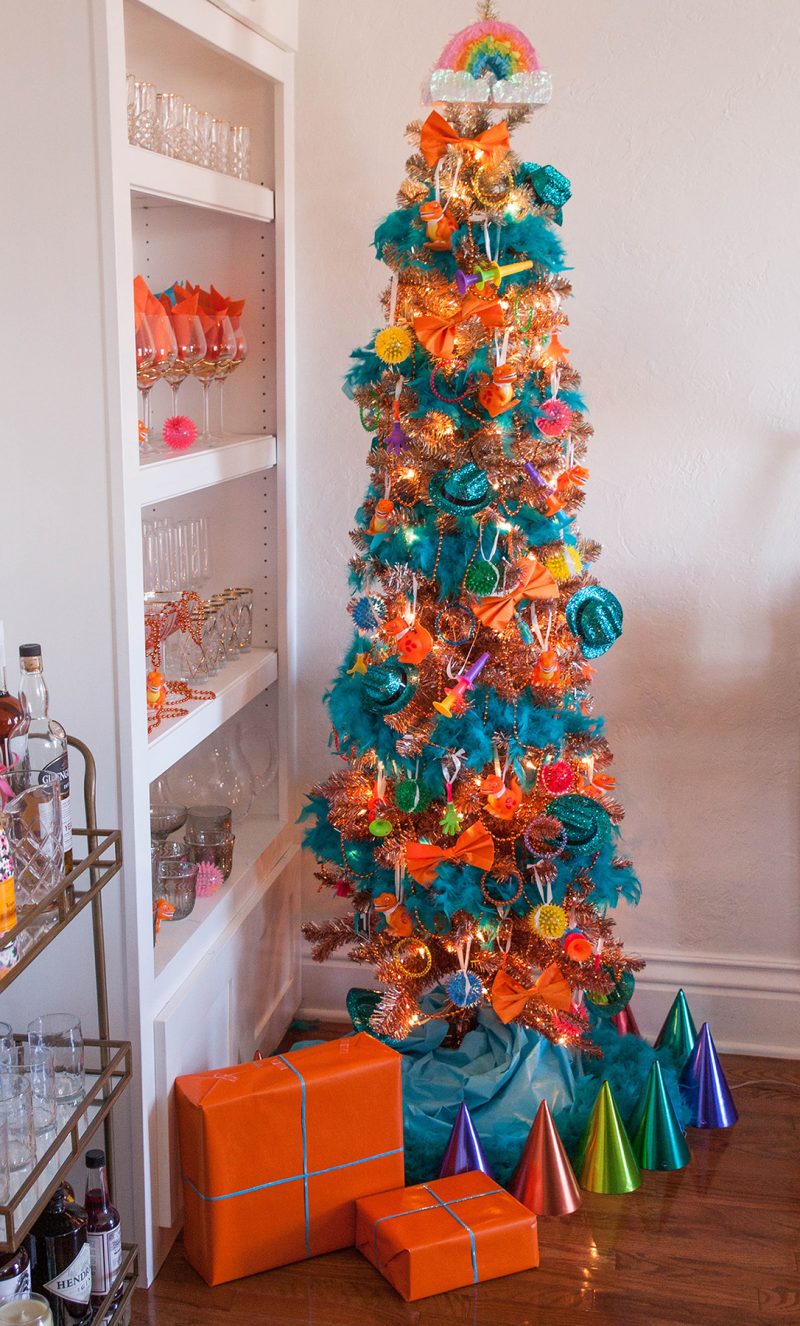
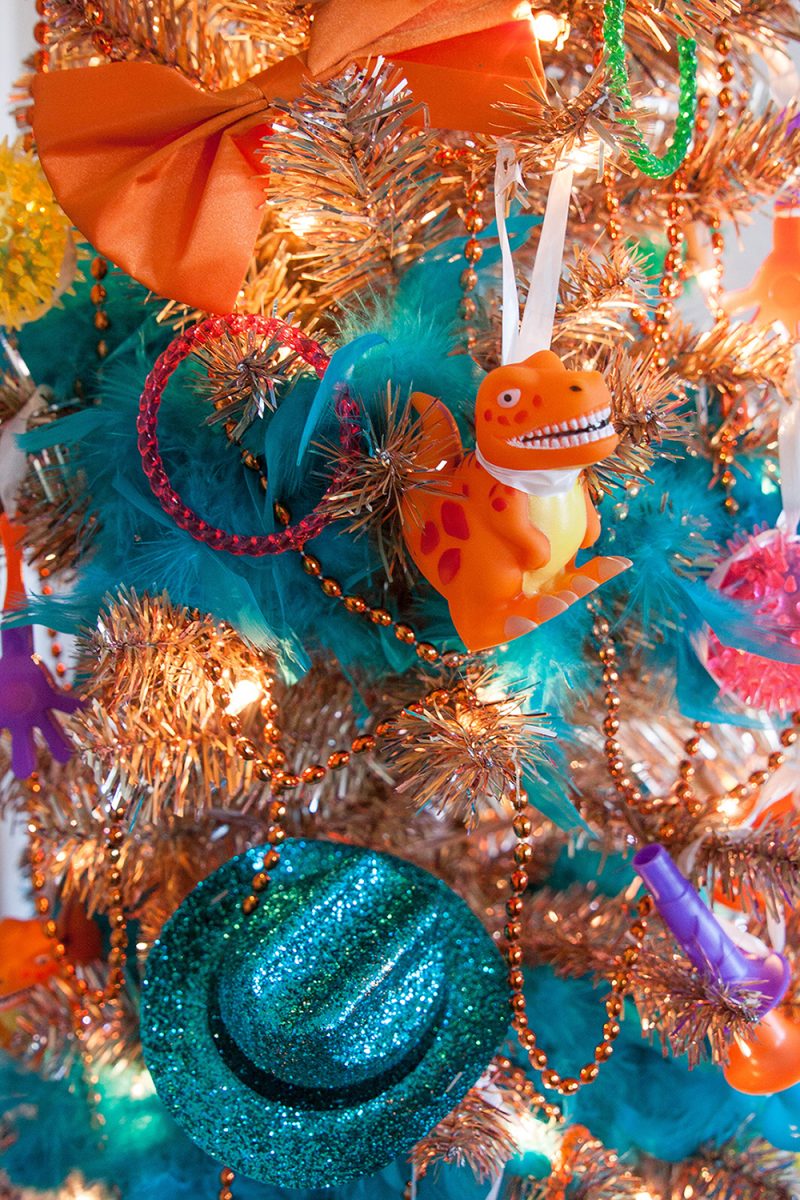
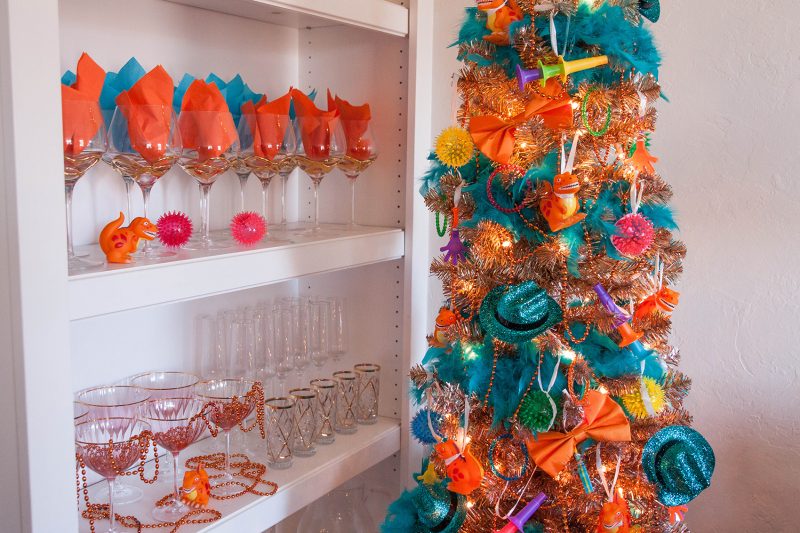
First impressions: I’m normally drawn to pretty traditional Christmas decorations — like evergreen and berries — so this is definitely a different look for me! I figured, if we’re going to party, we’re going to really party.
Behind the design: For a truly fun and festive Christmas tree, go all out with color. For me, that meant a sparkly pink number. I headed to Party City with a very open mind to see what jumped out at me. As I started scooping things off the shelves — feather boas, mini cowboy hats, party beads, kazoos and clappers, glowing bouncy balls, geometric erasers, and even dino squirt toys — a clear palette emerged. Orange and turquoise decor with a smattering of other primary hues like purples and greens made for a fittingly vibrant and playful color scheme. My selection criteria: the more fun, sculptural, whimsical (or weird), the better. While this might feel pretty “out there” from a decor perspective, it’s so lively! If you normally decorate one fancy tree and a second “fun” tree for the basement or kids playroom, this could feel right at home for the holidays.
Ornament DIY: While I didn’t truly “craft” any decor, I quickly realized that you can turn just about any party favor or inexpensive object into an ornament with simple string. I especially love the dino ornaments and the light-up bouncy balls. This could easily become an annual tradition with the kids — take them to the party store and let them pick out a new ‘ornament.’
Hardware Store Tree Decor with Designer Melissa Wagner
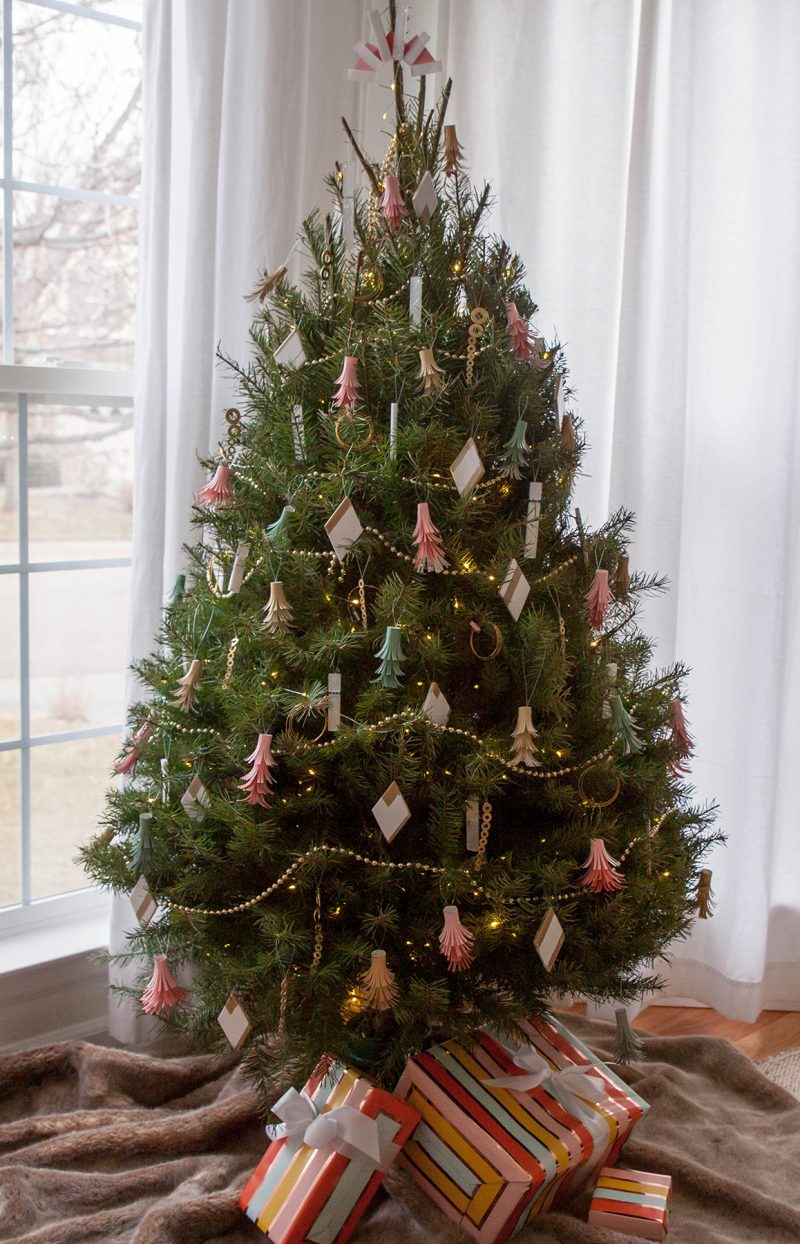
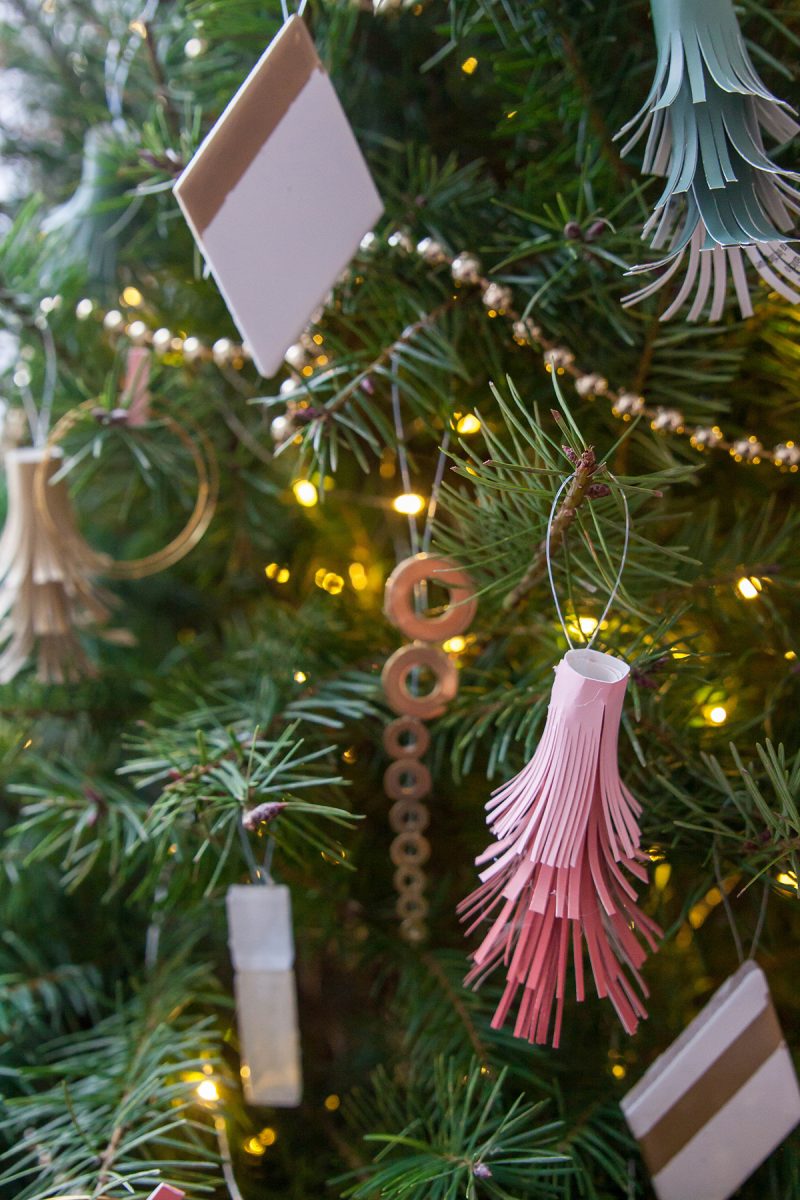
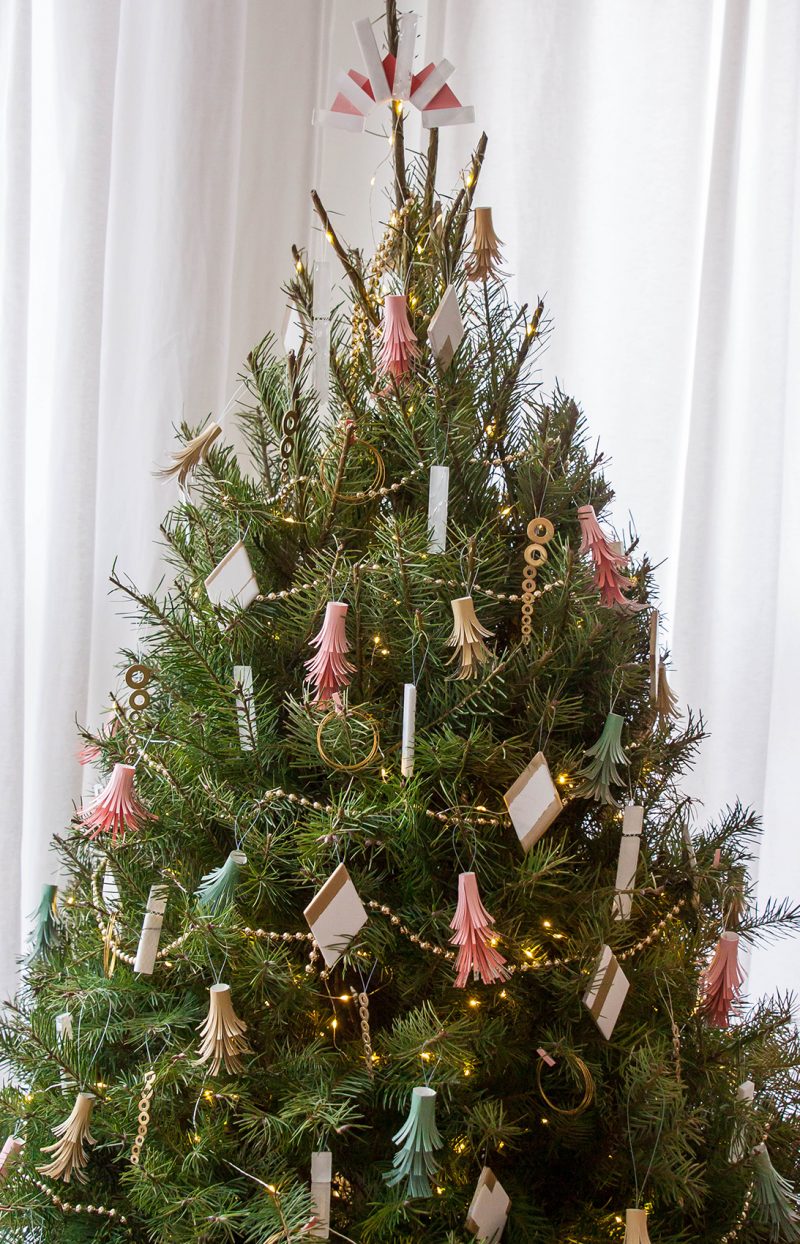
First impressions: I have to admit I was slightly terrified of this challenge. When I think of the hardware store, I think of steel and iron, screws and strap ties, bright orange extension cords, and power tools. But as I wandered around, my anxiety lifted and I made it my mission to find beauty among the (literal) nuts and bolts.
Behind the design: I didn’t really have a design plan in mind when I headed to the store; I wanted the pieces to guide the look. I spotted plenty of gold finishes during my first loop around, and decided to hone in on that material. Brass washers, piping, and gold spray paint meant that I could create three different kinds of ornaments with that common denominator. I spotted the paint swatches next, and selected hues that would complement gold and evergreen. Generally speaking, I wanted to create dimension and made sure that I had an assortment of shapes, finishes, colors, textures, and sizes when shopping. Always gather more than you think you need — you never want a DIY project to look skimpy or unfinished. Fill that tree up back to front!
Ornament DIY: I actually have a few different DIY elements going on here — I created ornaments out of brass washers, looped brass wire, white diamond-shaped tiles, rectangular backsplash tiles, and blue and pink paint swatches. With a little tinkering with each material the designs came to life fairly easily. Generally speaking, I really tried to let go of perfection with this tree and just have fun with it. While each element may not be perfect, the overall look is effective and festive!
Produce Aisle Tree Decor with Designer Vivian Torres
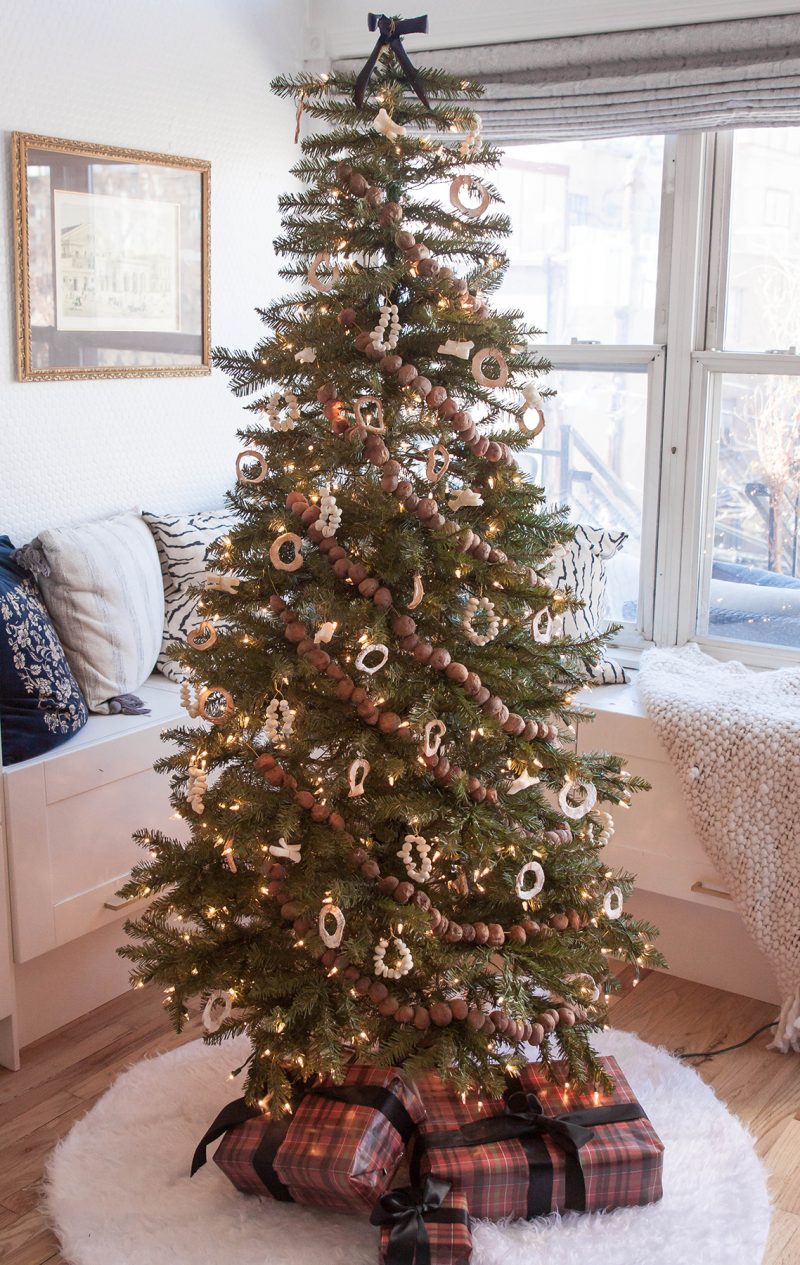
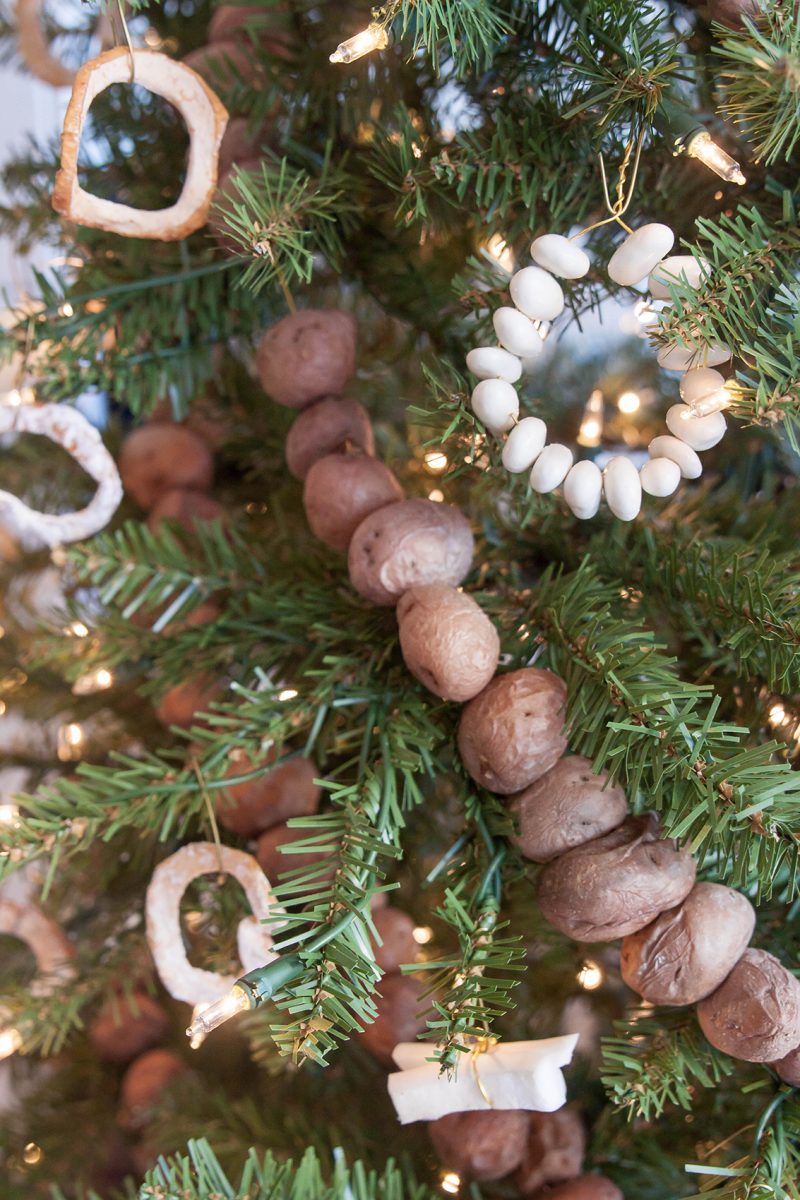
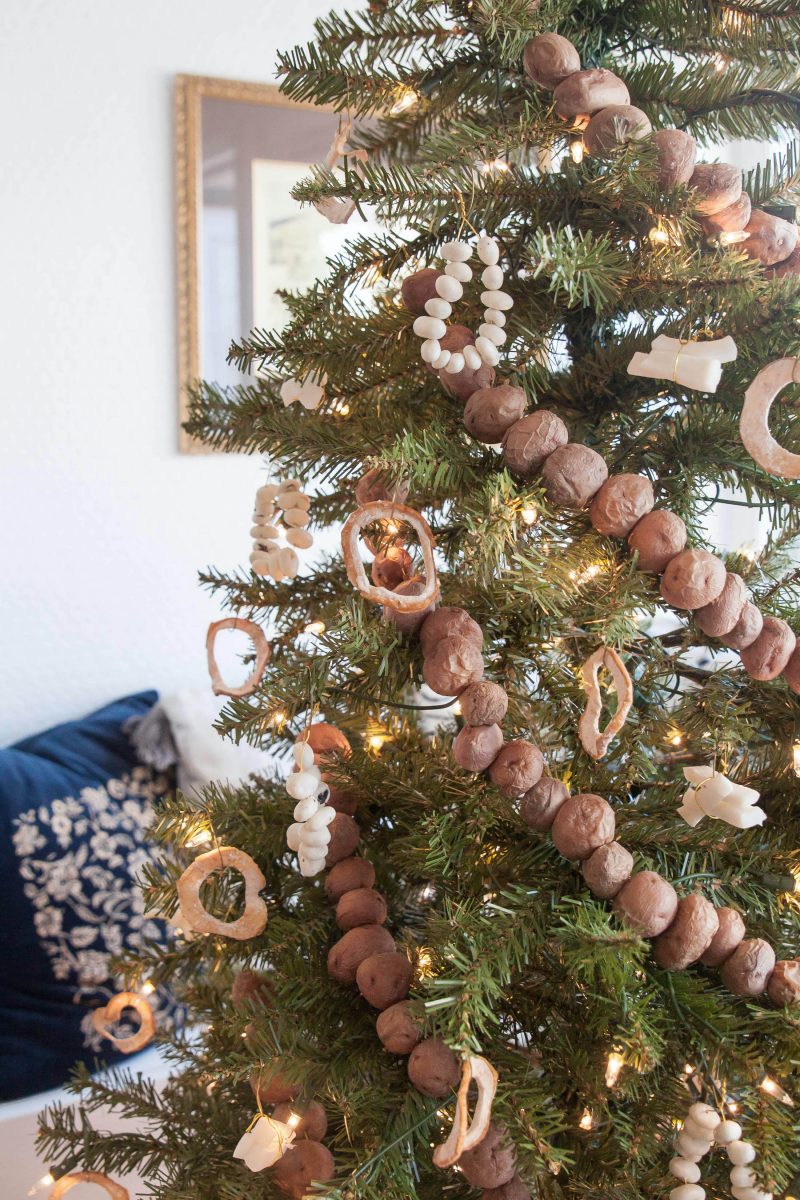
First impressions: I struggled with the general idea of decorating a tree with food, so I was definitely worried about this challenge! Plus, all the food-themed trees I could find featured orange slices, and I don’t particularly love decorating with that color for Christmas. But fortunately my worries were misplaced — there was so much to work with here!
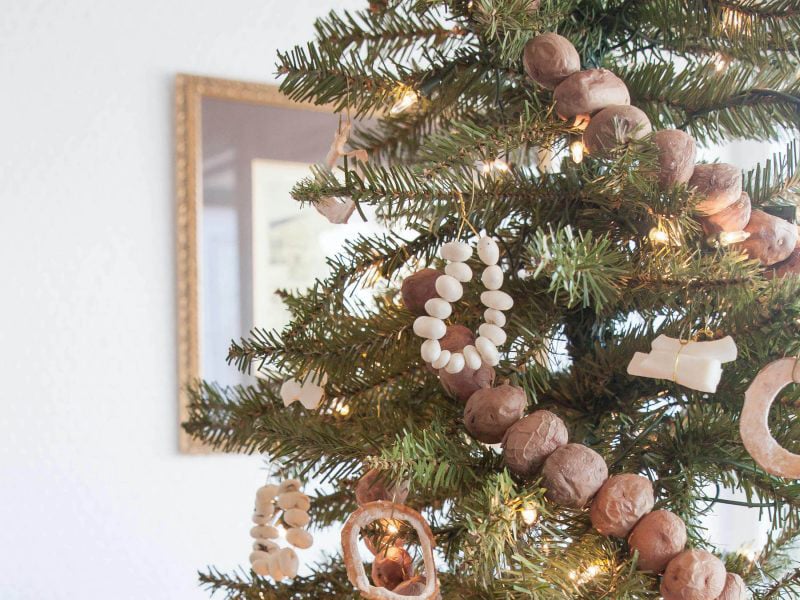
Behind the design: First, I decided on a color scheme to make the produce aisle feel smaller and more approachable. My natural palette limited me to items like potatoes, eggplant, apples, coconut, and raisins. Next, I organized everything by shape to ensure variety — the apples and potatoes checked the “round” box, while items like asparagus and eggplant added a more linear element. Don’t forget about garnishes like dates and yogurt-covered raisins — they’re usually in the produce section and you can use them for so many different things! Clearly a theme, but always buy more than you need. Worst case scenario, you’ll be able to use any remaining produce in smoothies or omelettes (both of which I made).
Ornament DIY: I ended up making four different DIY decorations for my produce tree: baby potato garland, apple rings, coconut firewood stacks, and yogurt-covered raisin hoops. Each involved a bit of prep that could have easy been avoided with a food dehydrator, if you’re willing to make the investment! I roasted the potatoes, apple rings, and coconut chunks for one to two hours each to properly dry them out. Once everything was prepped and ready to go, I assembled each ornament using fishing wire or ornament hooks. I also used a stapler to make small bows out of the outer eggplant layer! You’d never know.
Candy Shop Tree Decor with Designer Brady Burke
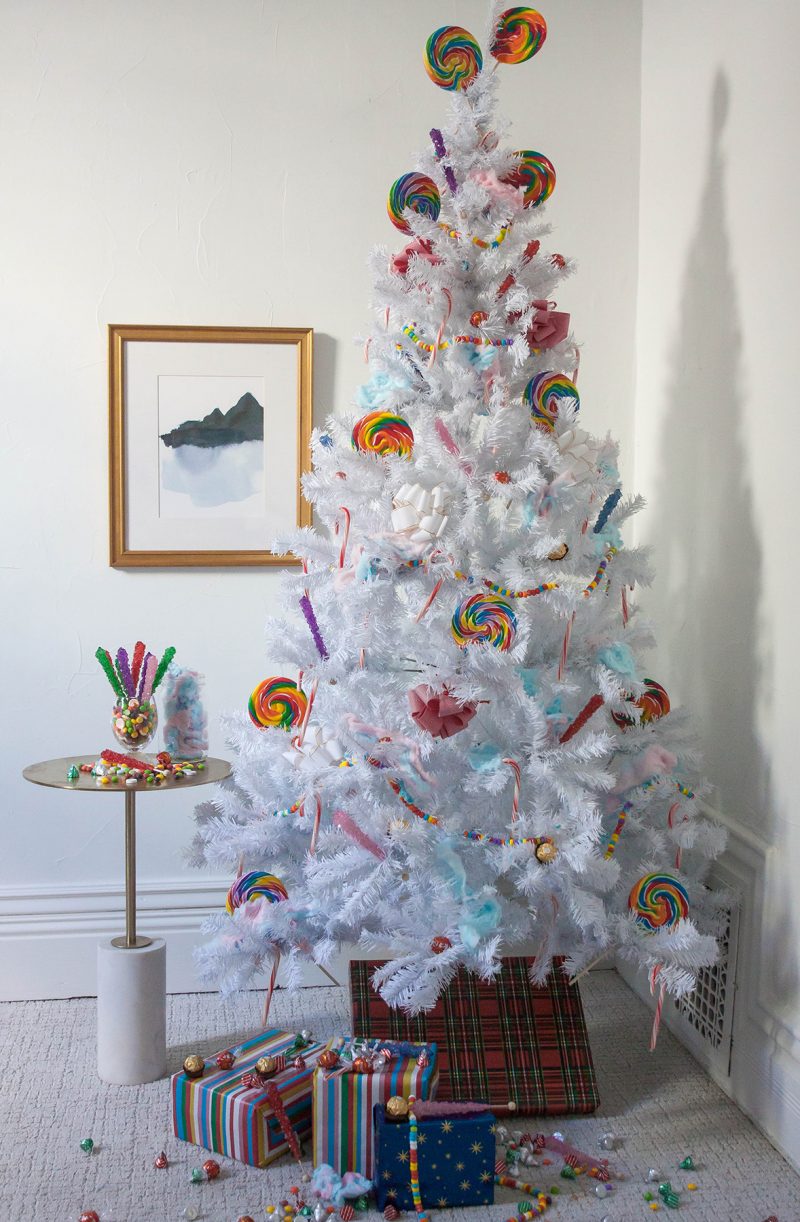
First impressions: I had to embrace the colorful nature of a candy-decorated tree before I even stepped foot into the shop. I love a classic Christmas set up with a focus on neutral colors, organic details, and lots of live greenery, so the bold and colorful vibe of the candy store was definitely a departure for me. I had a few key items in mind, like oversized lollipops, but otherwise went in with a completely open mind!
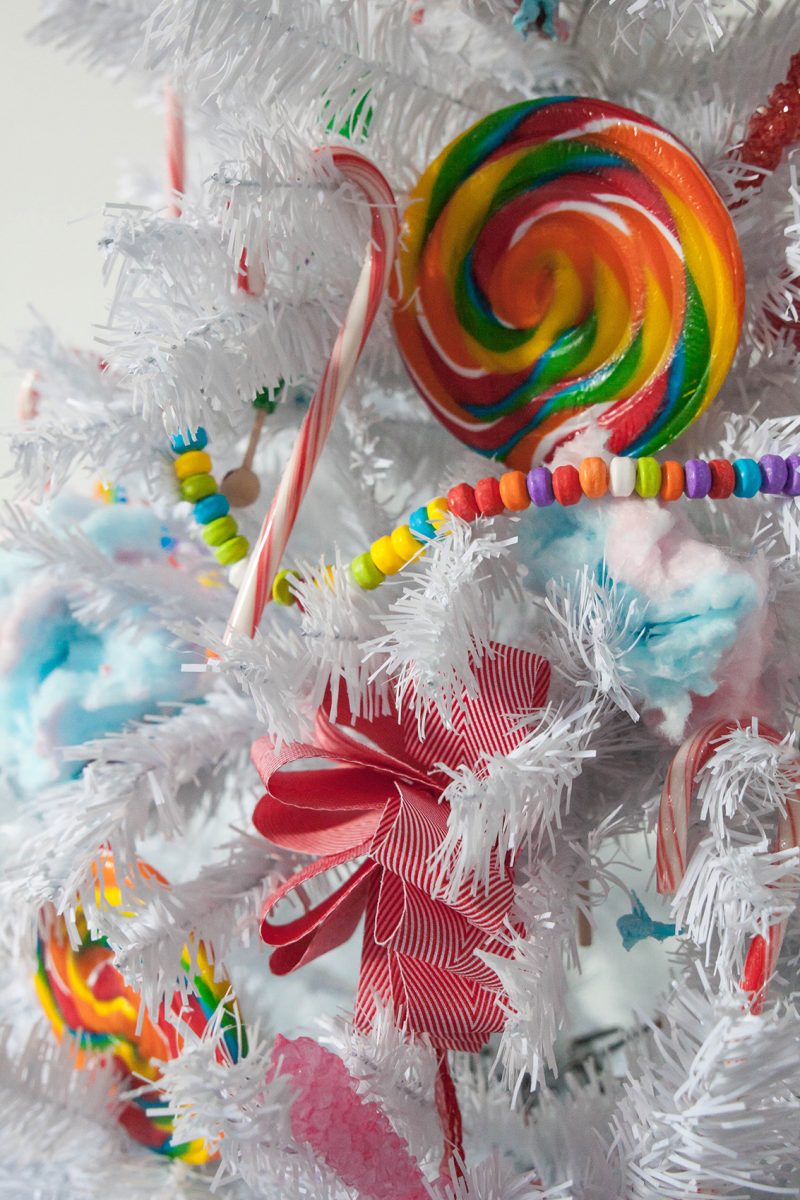
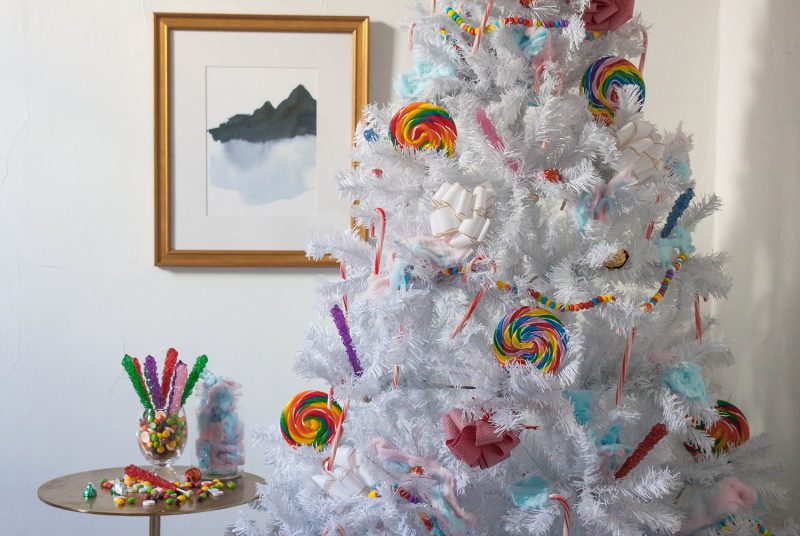
Behind the design: I knew I needed a blank canvas for all of the vibrant candy, so I went with a crisp white tree. I really tried to lean into the color and make the tree shine. The oversized lollipops are probably the statement piece, but word to the wise: I struggled to get the large lollipops to stay put. I especially love the added texture from the rock candy sticks and the cotton candy filler! I also added oversized bows and candy canes for a subtle holiday touch.
Ornament DIY: While I didn’t construct any ornaments from scratch, I did string candy necklaces together to make the garland. Generally speaking, I love how interactive this tree is — it’s great for a holiday party! You can easily add bite-sized candies and chocolate and invite guests to sample pieces throughout the night. It’ll be a fun and festive moment they’ll always remember.
Next up: Three fresh holiday tablescapes that are anything but ordinary.
And of course, our designers are always on standby with more clever and creative design ideas to elevate your space. Discover your perfect match with our style quiz.

