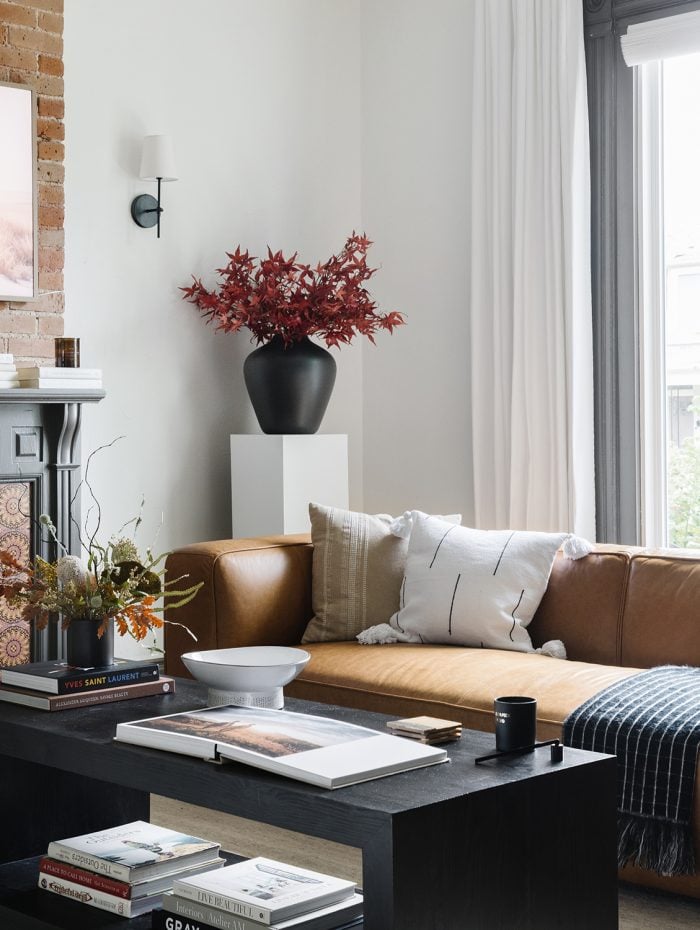
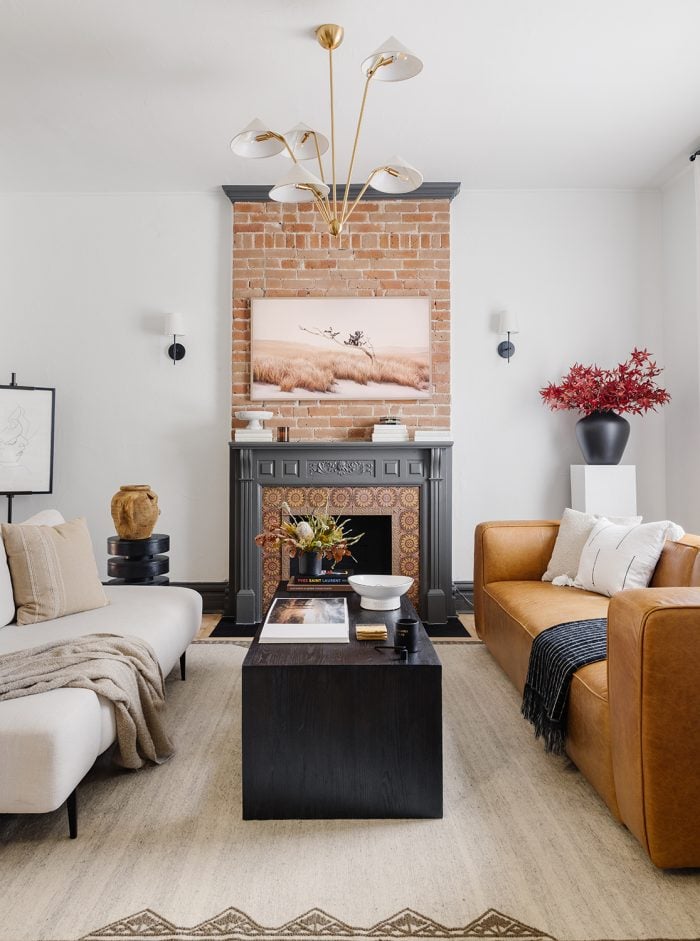
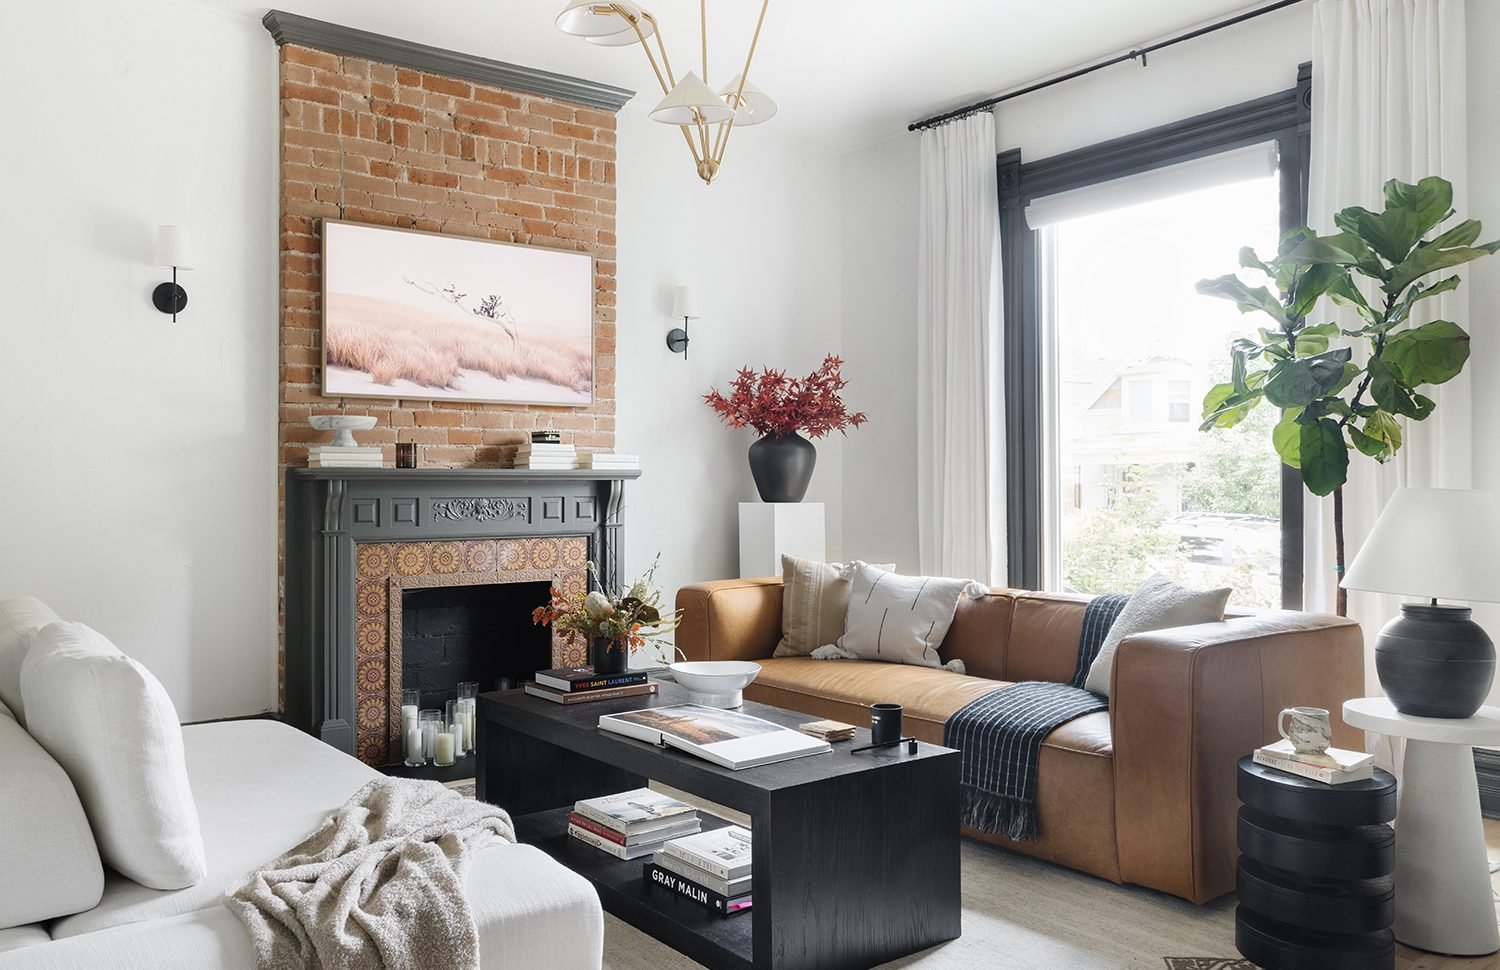
We’ve all been there: You have the brilliant idea to add wall sconces to a dimly-lit hallway or elegant living room. After hours of searching online, you finally land on the perfect modern-yet-vintage fixture that will elevate the entire room (and home, for that matter). And then, moments before clicking “purchase,” it dawns on you: you have to hardwire them — sigh.
It’s a common design conundrum. Whether you live in a rental, don’t have the funds for an electrician, or lack the technical know-how to run new electrical yourself, the word “hardwire” can be enough to dissuade you from buying sconces altogether. Until now, that is.
Thanks to Havenly designer Brady Burke, we now have a foolproof way to “hardwire” wall sconces with $23 puck lights from Amazon:
@thehavenly A real lightbulb moment. #sconce #sconcehack #sconces #diy #diyhack #decorhack #interiordesigner #interiordesign #interiordesignhack #homedecorhack #homedecor #decortiktok
“Lighting and ambiance is incredibly important from a design perspective, so I was determined to find a more cost-effective, low-lift way to install sconces without outside assistance,” says Brady. “This hack is also perfect for surfaces like brick and cement that simply can’t be hardwired.”
Sign us up! Keep scrolling for Brady’s five-step DIY wireless wall sconce hack:
DIY Wireless Wall Sconce Supplies

Before you get started on your DIY lighting, scoop the following supplies at your local hardware store (or borrow from a friend!):
- Your chosen wall sconces and install hardware
- Electric drill
- Pencil
- Level
- Measuring tape
- Scissors or wire cutters
- Battery-operated or rechargeable lightbulbs or LED puck lights, depending on your light bulb requirements and sconce style (more on this in step one!)
Our 5-Step DIY Wireless Wall Sconce Hack

Step 1: Shop. Source your favorite wall sconces and decide exactly where to hang them (pro tip: they look beautiful on either side of a natural focal point, like an entryway mirror or fireplace!). Note the lightbulb requirements and source the correct remote-controlled equivalent. If your fixture requires a lightbulb with a standard base, such as E26, you should be able to find rechargeable or battery-operated lightbulbs to fit. If not, stick to a shaded sconce and pick up LED puck lights to stick inside the shade for light (see the above TikTok).
Step 2: Measure. Unbox the sconces and find the backplates and installation instructions. Using the pencil and a level, lightly mark exactly where you want to hang your sconces, using the plate screw holes as an exact stencil.
Step 3: Mount. Using the proper drill bit for your wall material, drill your pilot holes based on the wall markings. Mount and secure the backplates to the wall using the provided hardware. Ask a friend, family member, or significant other for assistance if needed!
Step 4: Hide the electrical wires. To successfully secure the fixture to the backplate, you need to get the electrical wires out of the way. (If you were hardwiring your fixtures, these attached wires would run from your fixture through the backplate and into your wall, where they would be hooked up to your home’s electrical system.) If there is space inside the mount to hide the electrical wires, simply curl them up and tuck them inside. If not, clip the wires with scissors or wire cutters so you can successfully secure the fixture to the backplate. Mount the fixture following the instructions and screw everything together!
Step 5: Let there be light. Finally, screw in your remote-controlled LED bulbs, or stick the LED puck lights on the backside of the shade or lightbulb base. Use your remote control to turn your sconces on and off. Enjoy your perfect, budget-friendly ambiance!
Looking for a way to overcome your unique home dilemmas? Work one-on-one with our expert interior designers for just $129 per room. Get started today with our style quiz.

