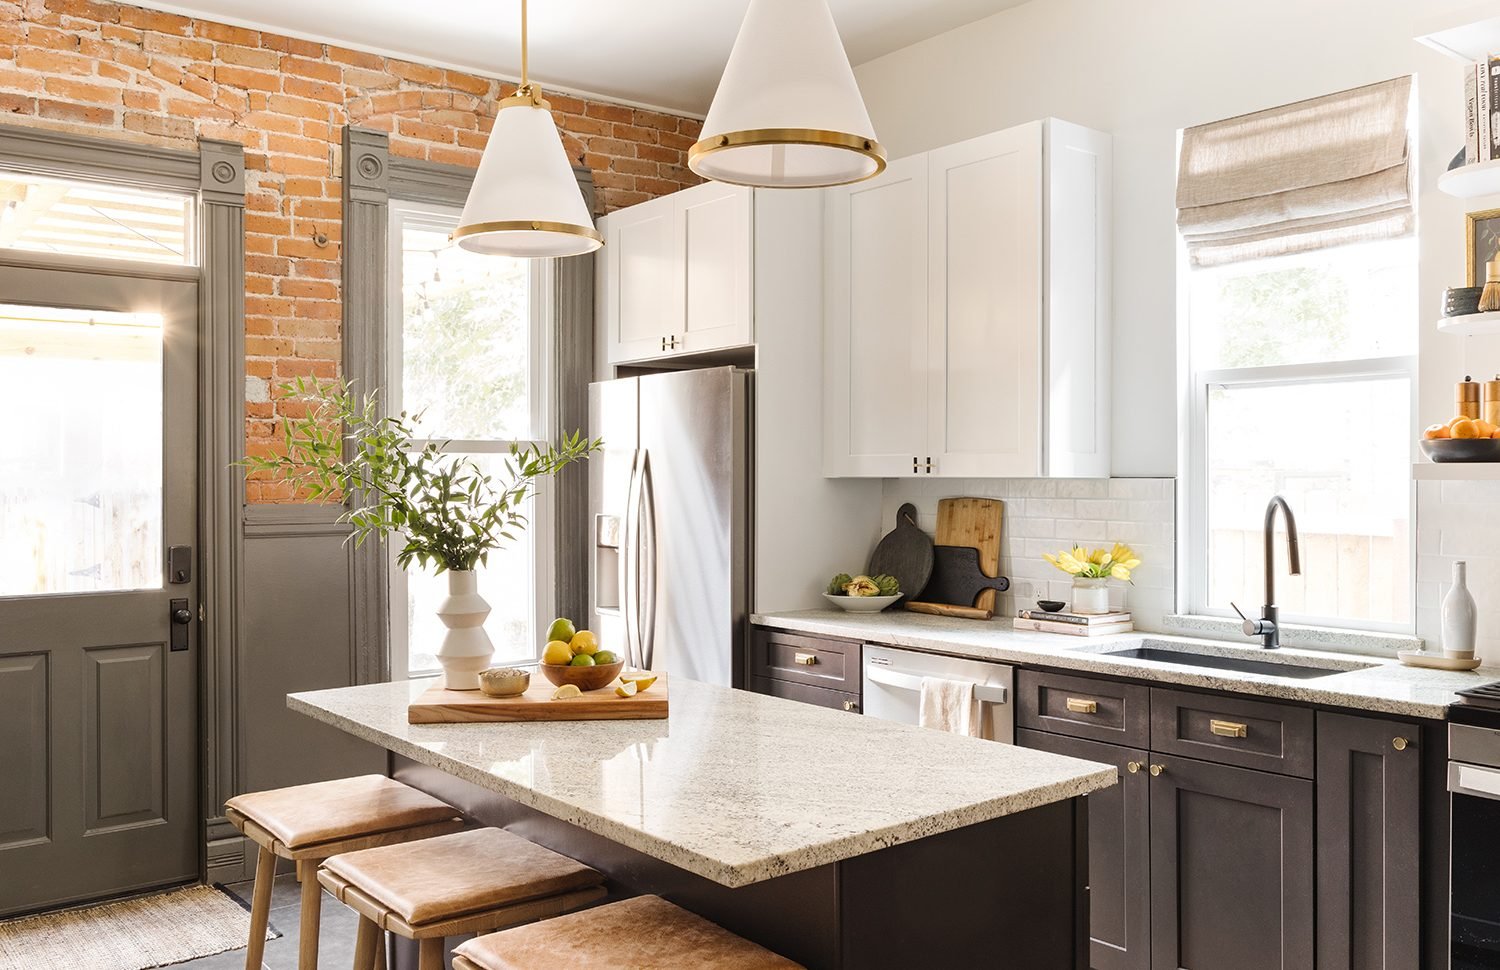
You don’t need to have a big budget for a gut kitchen renovation to make your space look totally fresh. In fact, a few coats of paint can go a long way to totally transforming your kitchen. Whether your kitchen cabinets are in need of a subtle touch-up, or you think they could benefit from a slightly more dramatic update, learning how to repaint kitchen cabinets can help you to DIY your dream space.
If your cabinets already have good bones, there’s no need to completely replace them. By painting them instead, you can save a considerable amount of money on a reno—which will leave you more budget to invest in new hardware, countertops, and backsplash if you so choose. Or, if you tend to change your mind frequently (no shame in that!), painting your kitchen cabinets can help you experiment with your design style without having to make a considerable investment.
That said, when you’re considering how to repaint kitchen cabinets, there are a few key factors to keep in mind: the scale of your project, the time you have to invest, and your level of confidence with slightly more DIY approaches. Here, Havenly designer Brady Burke breaks down everything you need to know to repaint your kitchen cabinets, featuring three real-life Havenly projects.
Approach #1: The Scrappy DIY
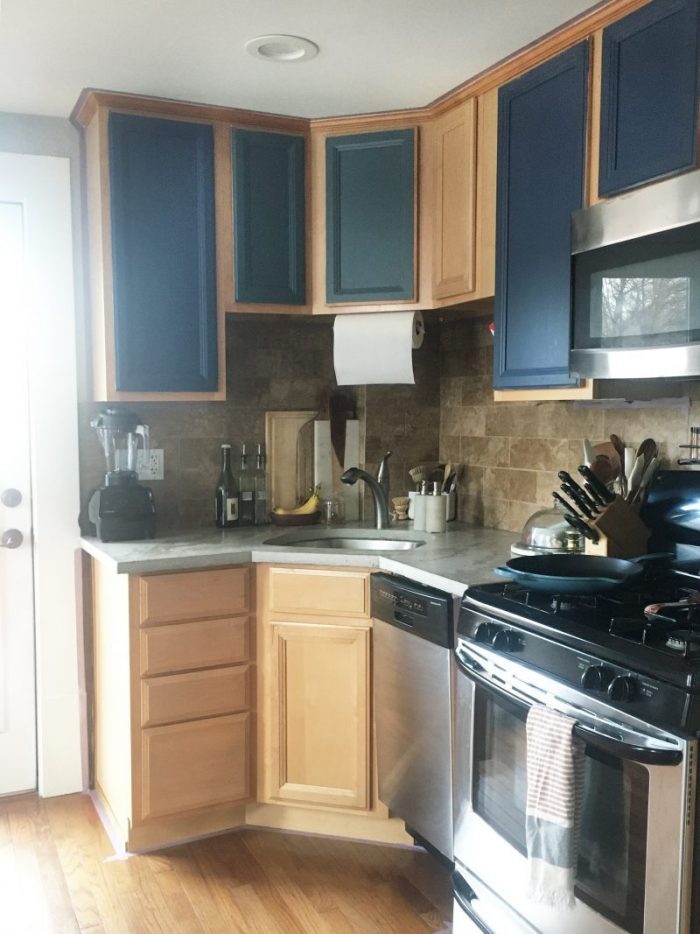
Before
After
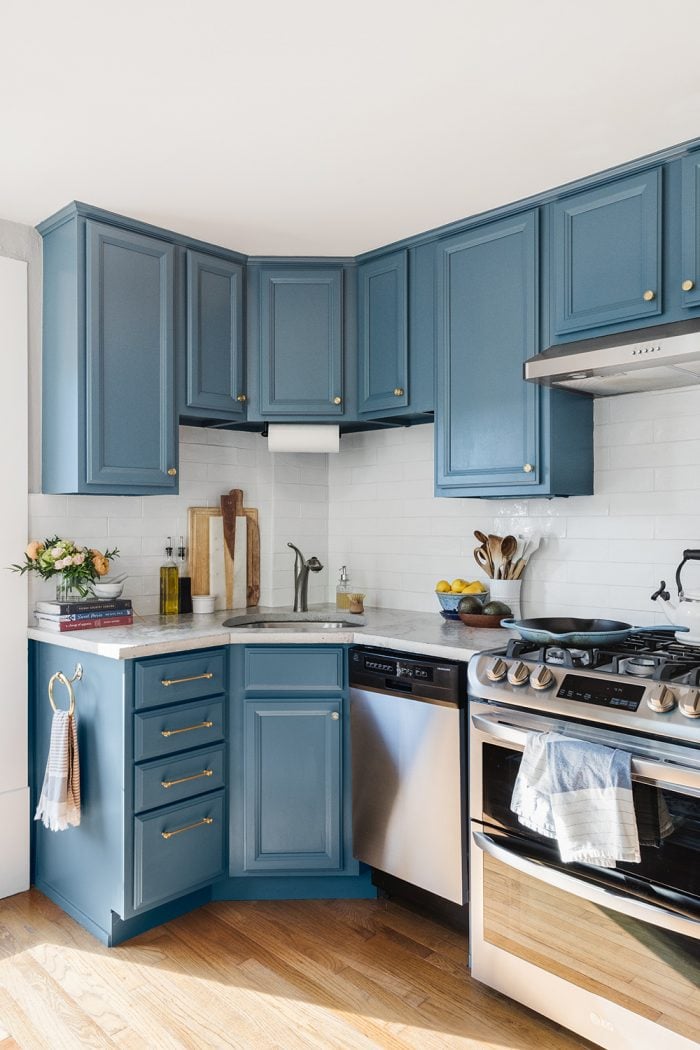
How to repaint kitchen cabinets: If you feel confident with a can of paint, there’s no reason why you can’t paint your own cabinets. Here, homeowner Heather transformed her kitchen with French-inspired blue paint. For the cabinets, she skipped the prep work (minus a light dust down) and got right into it—no removing, scrubbing, sanding, prepping, or priming. While she was at it, she took to the tile with bright white paint (see exactly how here): proof that sometimes, a complete tear down isn’t necessary for a successful makeover moment.
Tools required: paint, paint brush, painter’s tape, tarp
Pros: Because this is a smaller space, it made for a quick project—the homeowner was able to finish it in a day. Plus, the whole project cost just $300, making it budget-friendly.
Cons: While a fast-and-easy DIY approach is great for saving money, it won’t hold up as well as a more time-intensive project. Just be prepared to make touch-ups! But as Heather put it, “worth it.”
Approach #2: The DIY-Plus
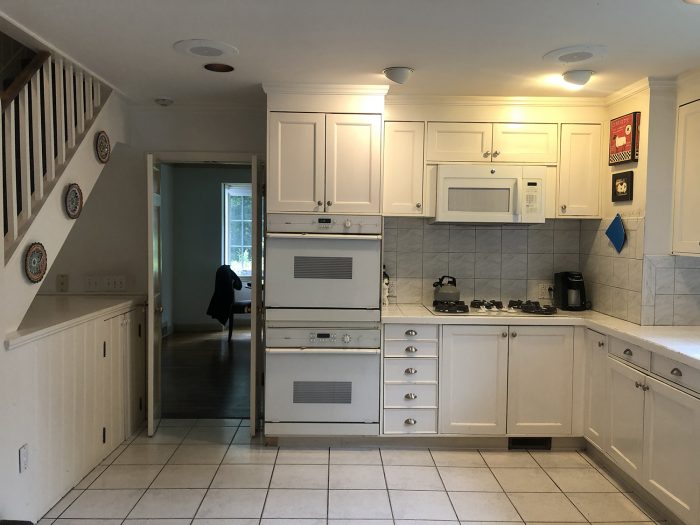
Before:
After:
How to repaint kitchen cabinets: If you consider yourself a bit more DIY savvy, then taking a more in-depth approach, as homeowner Shelby did, can help you to paint your kitchen cabinets like a pro. Before painting her cabinets with a gorgeous on-trend mushroom hue, she removed them and prepped them. That involved sanding and priming them to ensure that the paint would properly adhere to the cabinets and not flake off over time. Then, she used a paint sprayer to make sure that the paint was applied to the cabinets as smoothly as possible—think of it as an airbrush effect.
Tools required: paint, paint sprayer, painter’s tape, tarp, hand sander
Pros: The end result is professional-quality, and it holds up to daily wear and tear.
Cons: This approach gives you the look of a professional paint job—but it is a bit more time-consuming! Depending on how clean your cabinets are, if they’re already covered in paint that needs to be sanded off, and how many there are, prep work can take up to a week alone. You should also be comfortable with some tools, like a hand sander and a paint sprayer, and you’ll need access to an outdoor space where you can work.
Approach #3: The Pro Job
Before
After
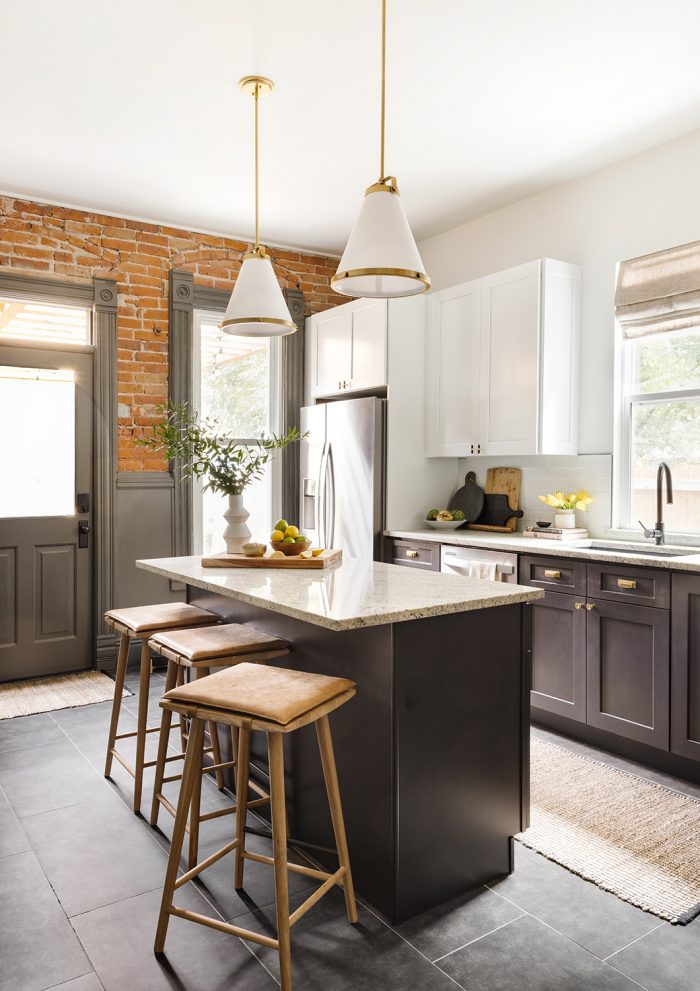
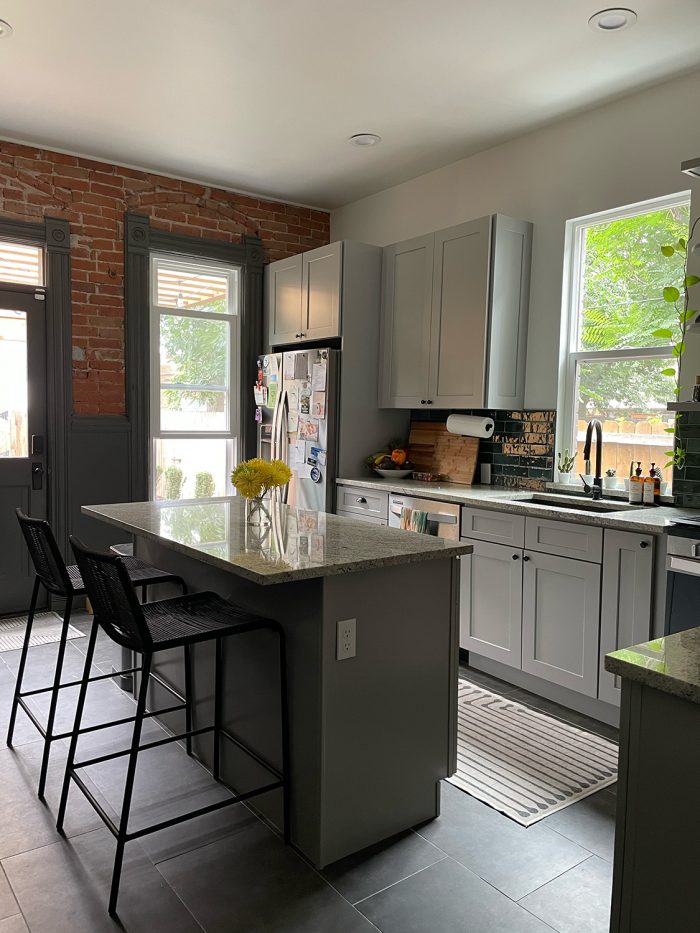
How to repaint kitchen cabinets: This one’s easy—just call in the pros! This project (by Brady himself) shows the result of a truly thorough renovation job. This kitchen’s cabinet doors, interior shelves, and drawers were taken to a painter’s shop where they were cleaned, sprayed with a degreaser, and fully sanded. Then, they were primed and painted with a sprayer to give an even and clean application. The process took about five days, including reattaching the cabinets and cleaning everything up—but with a DIY approach that didn’t involve outsourcing, it would have taken closer to two weeks. That’s some serious time savings!
Tools required: none!
Pros: All you have to do is hire someone, then sit back and relax until your kitchen looks beautiful and new.
Cons: This approach can be cost-prohibitive for some, and in a high-demand construction market, it might take some time to find a professional who can take on the project.
From DIY guides to perfecting room flow, our designers are chock-full of expert tips. Start with our style quiz to work with a design pro one-on-one.

