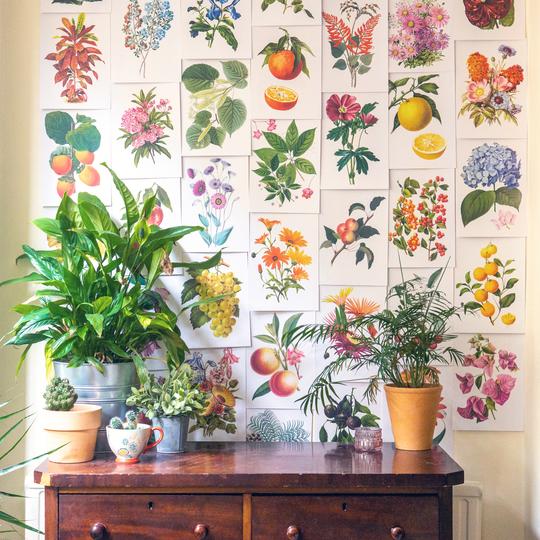
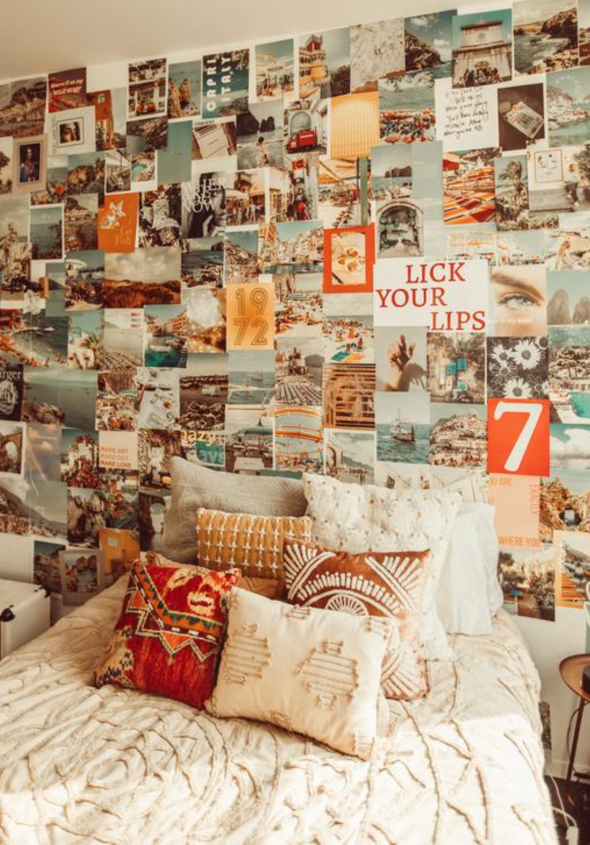
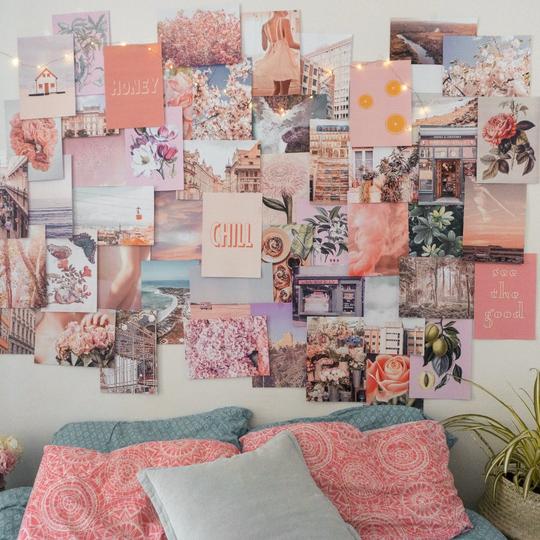
There’s one in every home: that wall that needs a little bit of love. Maybe not accent wall levels of commitment or peel-and-stick wallpaper devotion. But a little attention that shows you care. Enter, the blast-from-the-past wall collage!
We’re surprisingly in love with the re-emerging trend of a sophisticated wall collage. Maybe because a well-curated wall collage is a throwback to simpler times—your freshman dorm or even your mom’s teenage days. A wall collage of pictures is an easy DIY project that brings the visual excitement of the outside world into your home. Plus, wall collage kits are hotter than downloadable Zoom backgrounds, so it’s easier than ever to create one.
Here’s how to create this trendy look in your own place.
Before you do anything, decide how much wall you want to cover and what size photos you like. The current look is orderly and oversized—all images measuring in at 8 1/2 x 11 inches and arranged in neat columns and rows. Whether you lean toward a grid format or an amorphous cloud shape, do some pre-calculations to figure out how many photos you’ll need.
You’ll almost certainly need more than you think. A collage that measures 4 feet across and covers your wall almost from floor-to-8-foot-ceiling, for example, is an area of 32 square feet. If you worked with 8 ½ x 11 inch photos, you would need at least 48 images.

This is your opportunity to go wall-to-wall with the things you love. Spotlight family and friends, your hobbies or passions, or simply images that speak to you. Maybe you want to create an oversized vision board or a mega mood board or a backdrop for “Summertime Selfies: The Shelter in Place Edition.”
At a loss? You can find endless inspiration by searching for wall collage kits on Etsy, Pinterest or YouTube.
Speaking of wall collage kits, you can save loads of time and purchase a photo collection already curated according to a theme and a certain aesthetic. Photographers like Tessa Barton, for example, sell themed kits—city life, coastal life, dreams in general—starting at $49 for 75 photos.
Cai & Jo sells half a dozen kits for $58 each. They’re organized by color, Summer Blue or Peachy Pink, or subject matter, such as vintage watercolor paintings of flowers and plants.
Etsy makers have also gotten in on the wall collage action, with hundreds of options available to purchase pre-printed or for download.
If you want something more personal but you’re not a great photographer, curate your own kits on sites like Unsplash, Pexels or Pixabay, which allow you to search seemingly limitless supplies of free stock photos by category, size, color or orientation (horizontal or vertical).
If you already are a talented photographer, it’s time to scroll your personal galleries for your best shots. Keep your selections in a range of similar tones that don’t clash with your decor.

If you didn’t purchase a pre-printed kit, you’ll need to print your photos. And because you really don’t have to use high-quality photo paper for this project, you’ve got some options.
You can use a photo printer at home.
An online photo service for same day pick-up like those offered by Walgreen’s or even Staples, for photos printed on copier paper (the most affordable option).
Or a photo-printing service like Snapfish, Shutterfly or Mpix.
Before you attach your first photo to the wall, arrange your collage on the floor to get an idea of how the photos play off of one another. Keep experimenting with layouts until you’re satisfied, then snap a quick pic so you don’t forget your arrangement, just in case you’re interrupted or need to move the photos in the middle of the project.

Double-sided tape on the corners of each image should do the trick. If you have textured walls, reach for removable and reusable poster putty. Or, if you don’t mind a constellation of tiny holes in your drywall, hang your collage with large, colorful push pins that add dimension and visual interest.
Ever finished painting or papering a wall, only to be overcome with a wave of regret? The beauty of a wall collage is it’s as temporary or as permanent as you want it to be. In a matter of minutes, you easily can undo it, rearrange it and swap out images within it.
What’s not to love about a wall like that?

Looking for professional design assistance on your walls and all that’s inside them? Let one of our designers help. Take our style quiz today and let’s get started!

