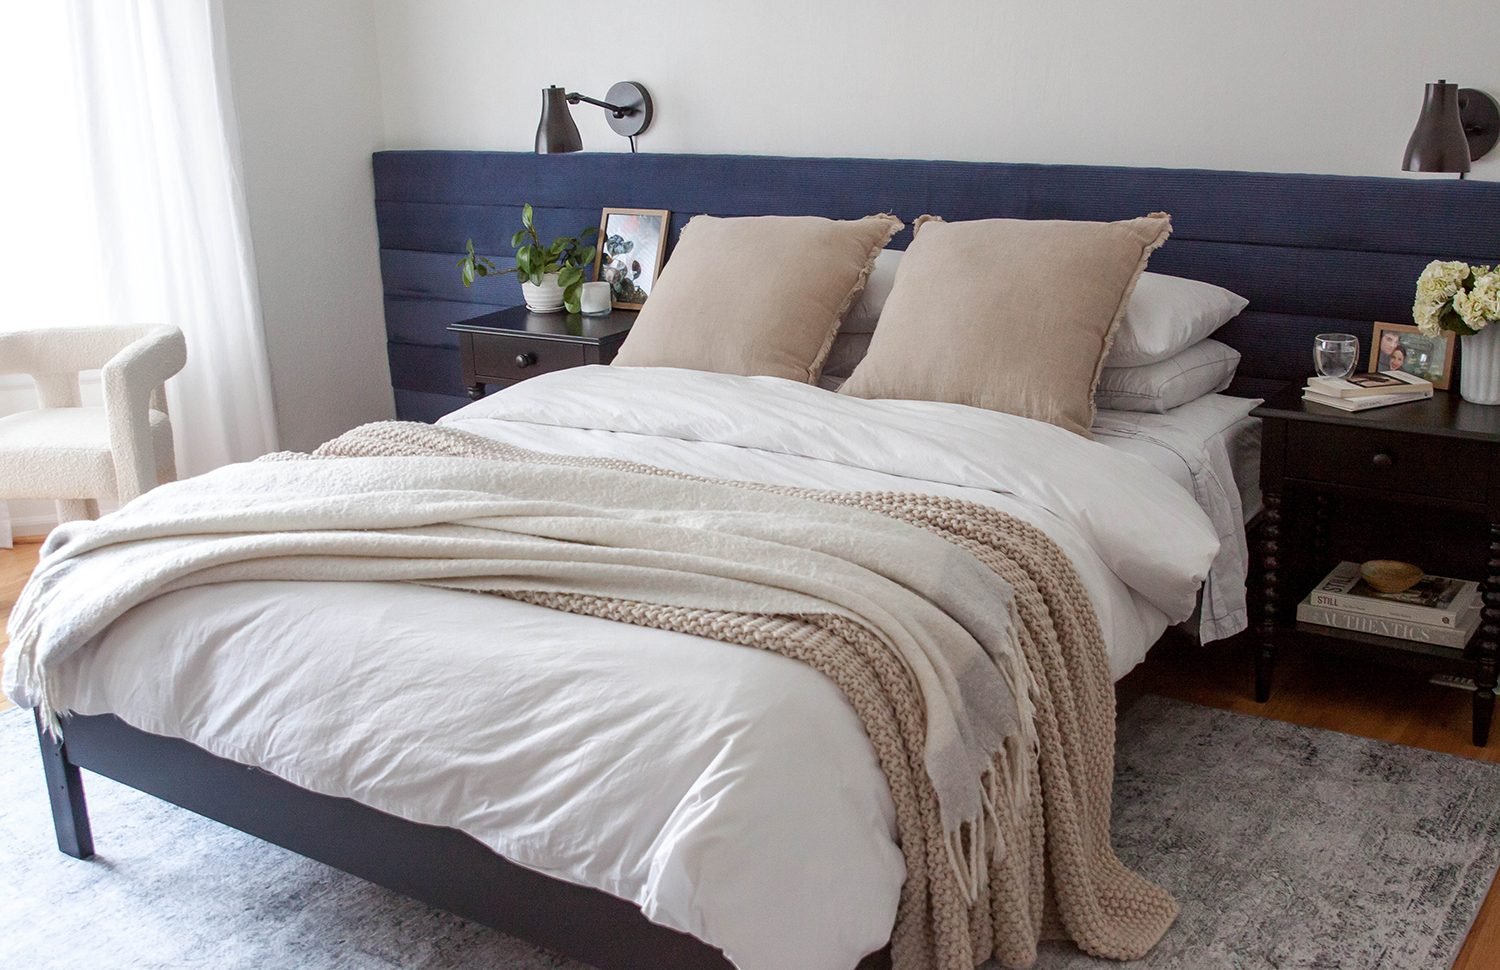
When designer Melissa Wagner decided to give her bedroom a makeover in her new Boulder, Colorado home, she immediately noticed one glaring problem: it felt empty, even with all her old furniture.
“The space is large with vaulted ceilings and bay windows, and the scale of our old furniture just wasn’t working,” she explains. “I needed something in the space to make a statement, but I wasn’t drawn to any particular piece of artwork, and I liked the minimalist bed frame we already had.”
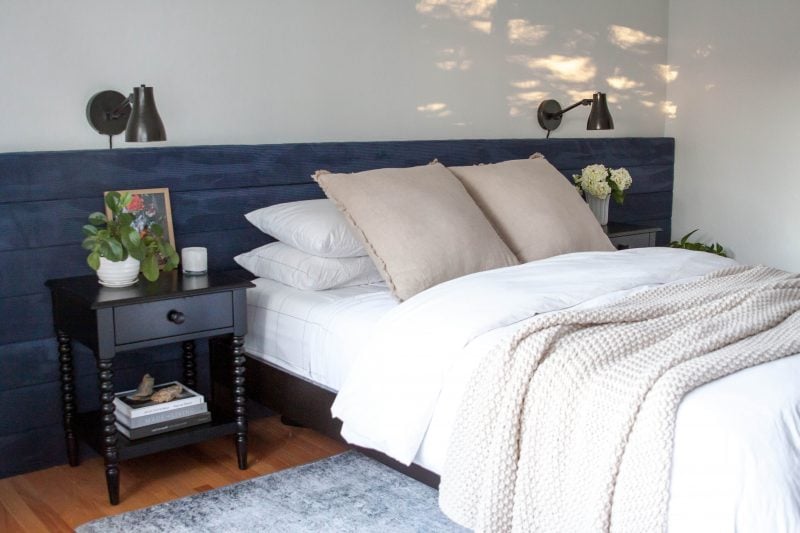
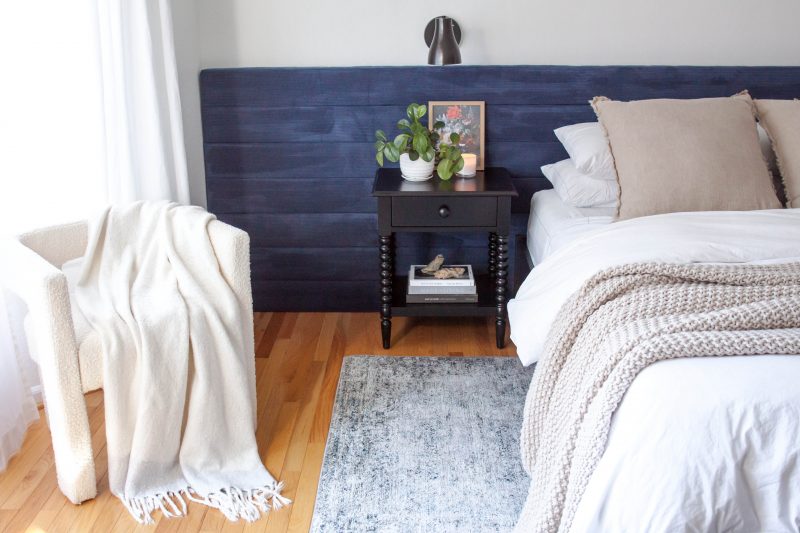
Her solution? Design and execute a wall-to-wall DIY headboard from scratch, using wood panels, batting, upholstery, and plenty of elbow grease. Within roughly three days, she managed to create a professional-grade headboard that anchored the bedroom and added just the right touch of drama to the airy space. “We really had the opportunity to start over and create something unique, and I love how it turned out,” she adds.
In Wagner’s own words, find her step-by-step DIY upholstered headboard below, plus a few pro tips for bringing the look to life.
Everything You’ll Need
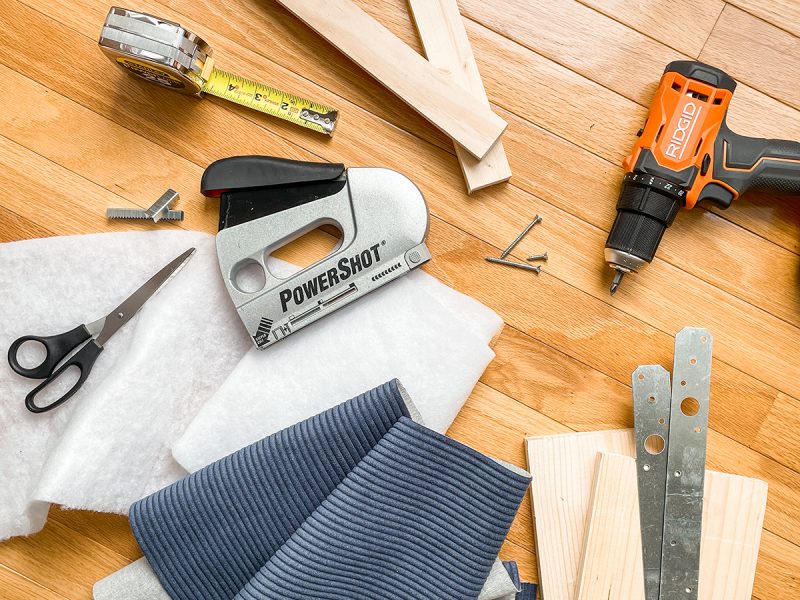
- Upholstery of choice
- Batting
- Scissors
- Staple gun and 3/8″ 10mm staples
- Wood panels (1″D x 6″H x 8″W)
- Wood screws
- Power drill
- Tape measurer
- 12-gauge strap ties
- Circular saw (if cutting wood to size at home)
- Corner brackets (optional)
My 6-Step DIY Headboard
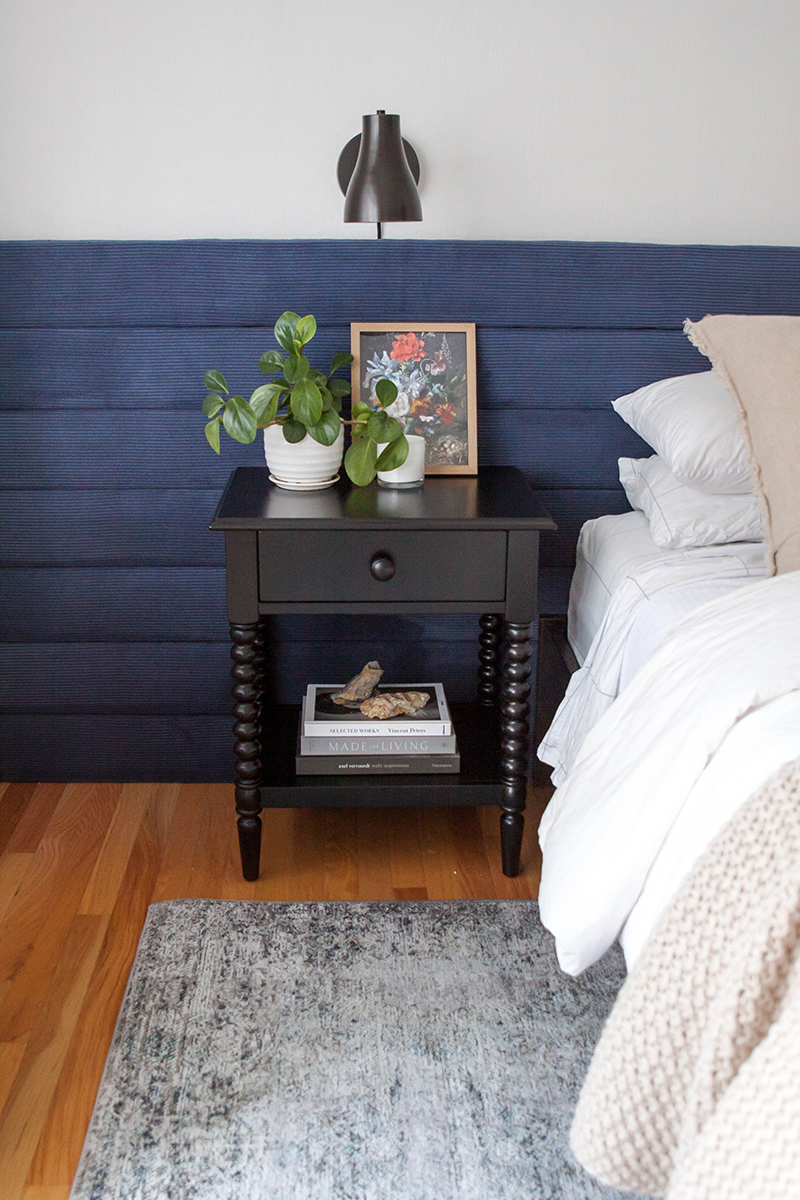
Step One: Create your design & gather supplies. Before you even think about going to the hardware store, create your design and measure your space. Don’t forget to take bed frame height, nightstand height, and lighting into account when concepting the size and shape of your headboard. (Note: sconces require a shorter headboard and more exposed wall space, while table lamps look best when the headboard is at least 4 inches taller than the shade or the top intersects at about 2/3 of the lamp height.)
I knew I wanted to create a simple wall-to-wall headboard measuring 13.5 feet wide and 4 feet high, with tweaks to accommodate my baseboards, wall sconces, and some power cords. After measuring multiple times, I purchased my wood, fabric, batting, and hardware accordingly.
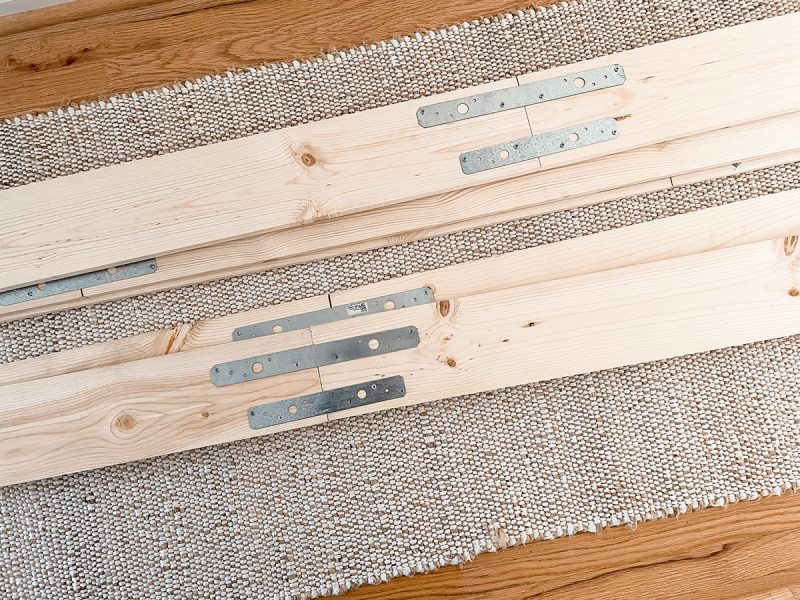
Step Two: Prep your materials. Next, make sure all of your supplies are prepped and to scale. Since my headboard spanned 13.5 feet, I had to connect the shorter boards using strap ties. If you’re only covering an 8-foot or 10-foot wall, for example, you can find or cut pieces down to that exact size using a circular saw.
To accommodate the baseboards, I planned to add a 2-inch rail to the top panel and four vertical 2-inch rails across the center boards for support. I also used 5-foot boards at the bottom to create an opening for cords and power strips underneath the bed, since our outlets would be covered. I recommend making any and all adjustments to suit your unique space and needs!
Step Three: Cut batting and upholstery. Next, cut your materials to upholster the wood panels. I recommend the “measure 150 times, cut once” method to ensure that the fabric is long enough to cover the board and batting. To visualize, lay one board on the fabric and determine the ideal amount of overhang on each side. I ended up settling on a 2-inch overhang along the sides and 3 inches on each end, or 10-inch wide, 14-foot long fabric strips. Then and only then, cut your fabric strips and batting to scale!
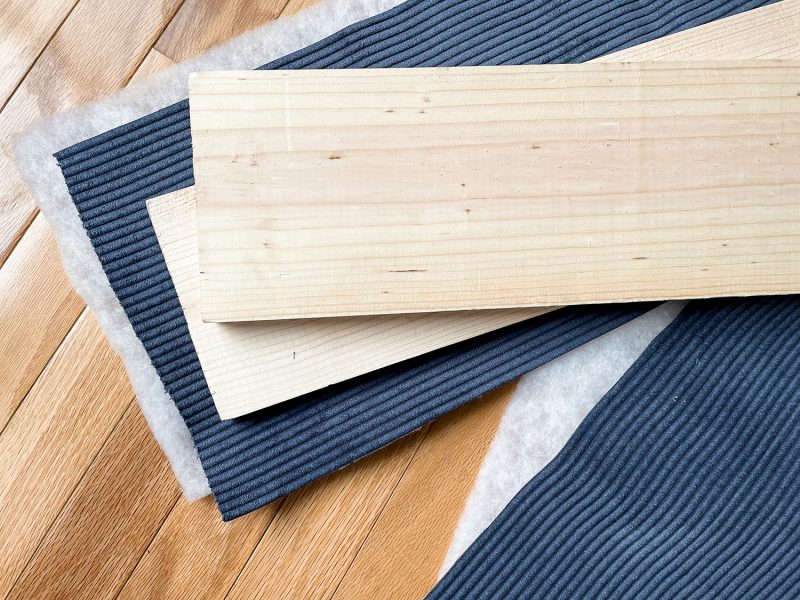
Step Four: Upholster your boards. Now for the tricky part! I recommend lying down the fabric and batting first, then centering the board on top. Using a staple gun and 3/8″ 10mm staples, pull the fabric taut and staple the fabric to the boards, alternating side to side (this method proved easier and faster than stapling each side one at a time).
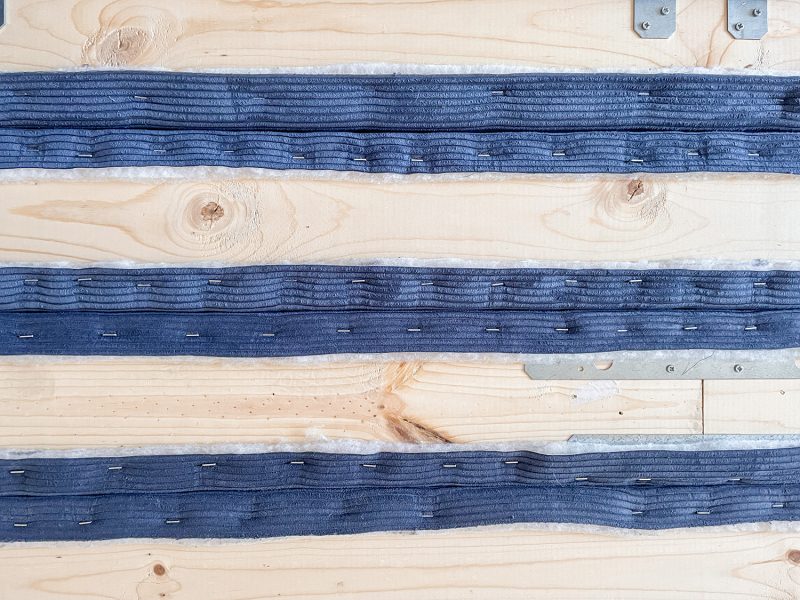
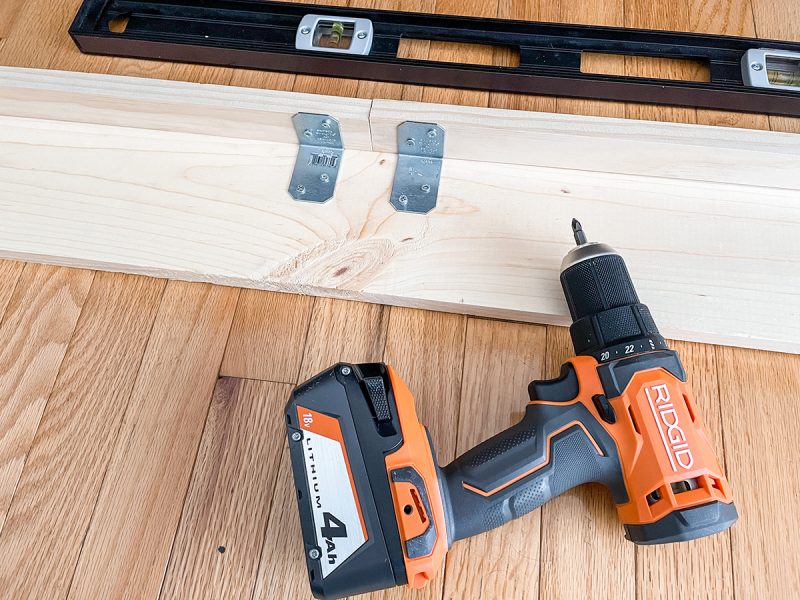
Step Five: Assemble your headboard. This part was so much fun because it came together perfectly! (How often does that happen??) Lay all of the upholstered boards together, fabric-side down, and connect the pieces using strap ties and an electric drill. Because my headboard measured 41 inches high, I used 36-inch 12-gauge ties. Once the main boards were all connected, I added my vertical support boards and my 2-inch top rail using connector brackets and wood screws.
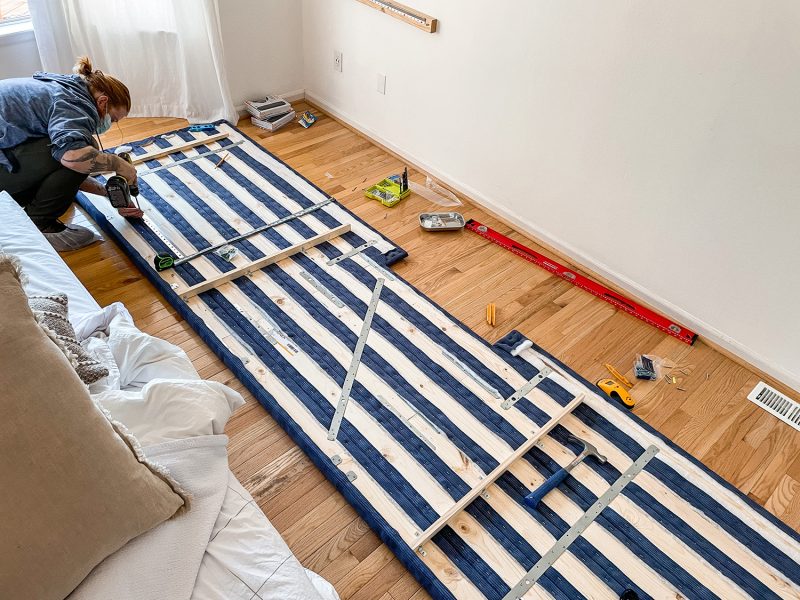
Step Six: Install. Once the structure is fully assembled, I recommend hiring a professional to hang this bad boy on your wall (it’s very heavy). Then you’re done! Admire your handiwork, and then promptly take a nap in your new bedroom.
Looking to bring your dream home to life? Our style quiz is a great place to start. Complete the questionnaire and meet your interior designer BFF within hours.

